There’s a certain magic to a British garden. It’s more than just a patch of land behind the house; it’s our little slice of the great outdoors, a place for a quiet cuppa, a weekend barbecue, or just watching the bees bumble from flower to flower. For many of us, the dream of having a beautiful garden feels a bit out of reach. We see the stunning displays at the Chelsea Flower Show or in glossy magazines and think, “I could never do that.”
Well, I’m here to tell you that you absolutely can.
Creating a garden you love isn’t about having some mystical green thumb. It’s not about spending a fortune or having acres of space. It’s about a little bit of planning, understanding your own patch, and learning as you go. It’s a journey, and like any good journey, it starts with a single step.
This guide is your roadmap. We’re going to break it down into five straightforward, manageable steps that will take you from a bare patch of lawn, a concrete yard, or even just a balcony, to a thriving green space that brings you joy. Forget the confusing jargon and the overwhelming options. We’ll keep it simple, practical, and tailored for the unique charms and challenges of gardening right here in Blighty. So, grab a brew, get comfortable, and let’s start planning your perfect home garden.
Please note: The content below may contain affiliate links. If you make a purchase through these links, we could earn a commission, at no additional cost to you.
Step 1: The Armchair Gardener – Planning Your Patch of Paradise
Before you even think about buying a trowel or a single plant, the most important work happens from the comfort of your favourite chair. This planning stage is the secret to a successful garden. It saves you time, money, and a lot of head-scratching later on. Think of it as creating the blueprint for your masterpiece.

Know Your Canvas: Assessing Your Space
Every garden is different, and the first job is to become a detective in your own backyard. For a week or so, just observe. Notice where the sun falls throughout the day. This is probably the single most important factor in deciding what you can grow.
- Sun-drenched spots: These areas get six or more hours of direct sun a day. They’re perfect for sun-lovers like lavender, roses, and most vegetables.
- Partial shade: These bits might get sun for a few hours in the morning or afternoon but are shaded for the rest of the day. Many plants, like hydrangeas and hostas, love these conditions.
- Full shade: Don’t despair if you have a north-facing garden or a spot overshadowed by a wall or a tree. This doesn’t mean a barren wasteland. It means you get to grow beautiful, elegant shade-loving plants like ferns, foxgloves, and hellebores.
Next, think about the wind. Is there a corner that acts like a wind tunnel? Plants don’t much like being battered about, so you might need to plan for a trellis or a hardy shrub to act as a windbreak. Also, look out for frost pockets – low-lying areas where cold air settles, which can damage tender plants in spring.
Finally, consider the view from your house. Where will you be looking at your garden from most often? The kitchen window? The sofa? Plan to have something lovely to look at from these spots, even in the middle of winter.
Getting to Grips with Your Ground: Understanding British Soil
Right, let’s talk about dirt. Or, as we gardeners call it, soil. Your soil is the foundation of your garden’s health. In the UK, we’re generally blessed with one of three main types. Finding out what you have is easy. Grab a handful of moist (not soaking wet) soil and give it a squeeze.
- Clay Soil: If it feels sticky and rolls into a smooth, sausage shape, you’ve got clay. Clay is brilliant at holding onto nutrients and water, which is great news. The downside? It can be heavy to dig, slow to warm up in spring, and can get waterlogged in winter or bake solid in summer. Think of it as a rich fruitcake – full of goodness but a bit dense.
- Sandy Soil: If it feels gritty and falls apart when you open your hand, it’s sandy. Sandy soil is the opposite of clay. It’s light and easy to work with, and it warms up quickly. However, it drains like a sieve, meaning water and nutrients wash away quickly. It’s like a Victoria sponge – light and airy, but it needs a lot of feeding and watering.
- Loam: If it feels slightly crumbly, a bit silky, and holds its shape but breaks apart easily, congratulations – you’ve hit the jackpot. This is loam, the perfect balance of sand, clay, and organic matter. It holds moisture and nutrients but also drains well. It’s the gardener’s dream.
Don’t worry if you don’t have perfect loam; almost no one does. The magic solution for improving both clay and sandy soil is the same: add lots of organic matter. We’re talking about compost, well-rotted manure, or leaf mould. This will break up heavy clay and help sandy soil hold onto water. We’ll cover this more in Step 2.
What’s Your Garden Dream? Defining Your Style
Now for the fun bit. What do you actually want from your garden? This is a personal choice, and there’s no right or wrong answer.
- A low-maintenance retreat? If you’re short on time, you’ll want to choose hardy shrubs, evergreen plants, and perennials that look after themselves. Think less fussy bedding plants, more structural grasses and things that provide colour without demanding constant attention.
- A family play area? You’ll need a tough, hard-wearing lawn and robust plants around the edges that can withstand the odd football. Maybe a sandpit or a spot for a swing?
- A productive vegetable patch? The ‘Good Life’ dream is alive and well. You could dedicate the whole space to growing your own food or just have a few raised beds for salads and herbs.
- A wildlife haven? You can make a huge difference to local wildlife. Choosing pollen-rich flowers for bees, plants with berries for birds, and adding a small water source will bring your garden to life.
- A cottage garden paradise? Do you dream of a classic English cottage garden, overflowing with rambling roses, foxgloves, and lavender? This style is all about informal, romantic planting.
- A sleek, modern space? Maybe you prefer clean lines, architectural plants, and a limited colour palette. This is great for urban courtyards and creating a calm, organised feel.
Jot down a few ideas. Look at magazines, browse Pinterest, and see what you’re drawn to. Be realistic about how much time you can commit. It’s better to start small and beautiful than to create a huge, demanding monster.
Putting Pen to Paper: Sketching a Simple Plan
You don’t need to be an artist. Grab a piece of paper and draw a rough outline of your garden. Mark on the house, any existing sheds, paths, or big trees you have to work around.
Using your notes from your ‘detective’ week, sketch in the sunny and shady areas. Now, start pencilling in your ideas. Where will the seating area go to catch the evening sun? Where’s the best spot for those sun-loving tomatoes? Where could a small tree go to create some privacy?
Play around with shapes. Instead of a boring square lawn, what about a circular one? It can make a small garden feel much bigger. Think about creating a journey. A slightly winding path, even in a small space, is more interesting than a straight one because it hides what’s around the corner.
This simple sketch is your guide. It will help you work out how many plants you need and where everything should go. It’s your first, crucial step to turning that dream into a reality.
Step 2: The Groundwork – Preparing for Planting Success
With a solid plan in hand, it’s time to roll up your sleeves. This stage is all about preparation. It might feel like the least glamorous part of gardening, but getting the groundwork right is what separates a thriving garden from a struggling one. As the old saying goes, it’s better to put a 50p plant in a £5 hole than a £5 plant in a 50p hole.

From Cotswold Charm to Contemporary Chic: The Guide to Natural Stone Landscaping in Britain
Operation Clear-Out: Decluttering Your Plot
First things first, you need a blank canvas. This means clearing the area you plan to work on. If you have an existing lawn, you might need to remove the turf. The easiest way is to use a spade to slice under the grass and lift it off in sections. You can stack these upside down in a corner of the garden, and they’ll rot down into lovely loam you can use later.
Next, tackle the weeds. Pesky perennial weeds like dandelions, couch grass, and bindweed need to be dug out completely. Make sure you get every last bit of root, as even a tiny piece can regrow. It’s a bit of a pain, but it’s worth the effort. For large, overgrown areas, you can cover the ground with a layer of thick cardboard or black plastic for a few months. This blocks out the light and kills off most weeds, making your job much easier.
The Good Stuff: How to Supercharge Your Soil
Remember our soil chat in Step 1? Now’s the time to act on it. The absolute best thing you can do for your garden is to improve your soil with organic matter. This is the gardener’s cure-all.
- For heavy clay soil, it opens up the structure, allowing air and water to penetrate and roots to grow freely.
- For sandy soil, it acts like a sponge, holding onto precious water and nutrients that would otherwise wash away.
What is this magical stuff? It’s simply decomposed organic material. You can buy it in bags from any garden centre, usually labelled as multi-purpose compost or soil improver. Even better is well-rotted manure or your very own home-made compost. Making your own compost is a fantastic way to recycle kitchen scraps and garden waste into ‘black gold’ for your garden.
Whatever you use, the method is the same. Spread a generous layer, at least 5-10cm (2-4 inches) deep, over the surface of your cleared soil.
To Dig or Not to Dig? Creating Your Planting Areas
Now you have a choice. The traditional method is to dig this organic matter in. This is called ‘double digging’ and involves thoroughly mixing the top layer of soil with the compost. It’s hard work, but it does aerate the soil.
However, there’s a growing movement that’s much kinder to your back and to the soil itself: the ‘no-dig’ method, championed by British gardening experts like Charles Dowding. The theory is simple: digging damages the intricate web of life within the soil (worms, fungi, microbes) that helps to feed your plants.
With the no-dig method, you simply leave the layer of compost on the surface. The worms and other soil life will do the work for you, pulling the organic matter down into the soil, naturally improving its structure over time. You plant directly into the compost layer. It’s easier, better for the soil, and brilliant for suppressing weeds.
You can create planting areas or ‘beds’ in a few ways:
- Traditional Borders: Simply mark out the shape you want along a fence or wall.
- Island Beds: These are beds set within a lawn, which can create a lovely focal point.
- Raised Beds: These are fantastic if your soil is particularly poor or if you have trouble bending. You can build simple wooden frames, or buy kits, and fill them with a mix of topsoil and compost. They’re brilliant for growing vegetables.
Your First Toolkit: The Only 5 Tools You Really Need
You don’t need a shed bursting with expensive gadgets. To get started, you only really need five key things. Buy the best quality you can afford, as they’ll last for years.
- A Spade: For digging holes, moving soil, and edging lawns. A stainless steel one is best as soil doesn’t stick to it as much.
- A Fork: For breaking up compacted soil and digging in compost (if you’re not going no-dig). It’s much better than a spade on stony ground.
- A Hand Trowel: Your go-to tool for planting, weeding, and potting.
- A Rake: For levelling out soil and creating a fine surface ready for planting or sowing seeds.
- A Watering Can (with a ‘rose’ attachment): Essential for gently watering young plants and seeds without washing them away. A 10-litre can is a good all-round size.
That’s it. You can build up your collection over time, but these five will get you through almost any task in your first year.
Step 3: The Shopping Trip – Choosing the Right Plants for Your Plot
This is where your garden really starts to come to life. Choosing plants is incredibly exciting, but it can also be a bit daunting. Walk into any garden centre and the choice is overwhelming. The key is to stick to your plan and follow one simple rule.

The Golden Rule: Right Plant, Right Place
This is the mantra of the Royal Horticultural Society (RHS), and for good reason. It’s the secret to happy plants and a happy gardener. All it means is choosing plants that will naturally thrive in the conditions you have. If you have a shady, damp spot, don’t try to grow a sun-loving Mediterranean lavender. It will struggle and die. Instead, choose a beautiful fern that will adore those conditions.
Look at the plant labels. They are packed with information. They will tell you if a plant needs sun or shade, what kind of soil it likes, and how big it will eventually get. Pay close attention to the ultimate height and spread. That tiny shrub might look perfect now, but if it’s going to grow to be 3 metres tall and wide, it’s not the right choice for right next to your path. Fighting against nature is a battle you will always lose. Work with it, and your garden will flourish.
Who’s Who in the Plant World: A Simple Guide
Understanding a few basic plant types will make choosing so much easier.
- Annuals: These plants live their whole life in one year. You plant them in spring, they flower all summer, and then they die when the first frosts hit. They’re fantastic for plugging gaps and providing lots of cheap, instant colour. Think of marigolds, cosmos, and sunflowers.
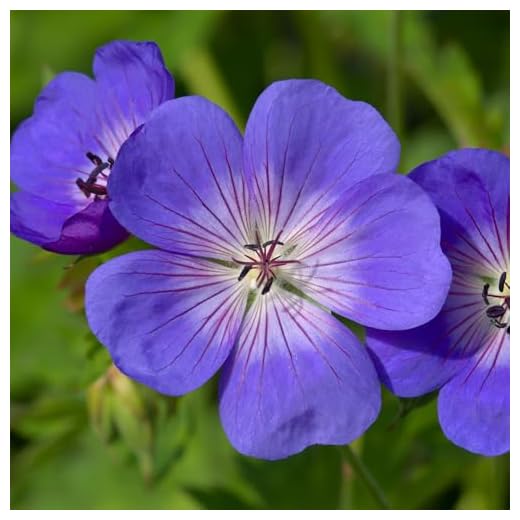
- Perennials: These are plants that come back year after year. They usually die back to the ground in winter and then regrow in spring. They are the backbone of many garden borders. Examples include geraniums, salvias, and lupins. They’re a brilliant investment.
- Shrubs: These are woody plants that form the permanent structure of your garden. They can be evergreen (keeping their leaves all year, like holly) or deciduous (losing their leaves in winter, like a dogwood). They provide height, structure, and year-round interest.
- Bulbs: These are little underground storage parcels that burst into life at specific times of the year. You plant spring-flowering bulbs like daffodils and tulips in the autumn, and summer-flowering bulbs like dahlias and lilies in the spring.
A good garden usually has a mix of all of these: shrubs for structure, perennials for reliable colour, and annuals and bulbs for seasonal splashes of excitement.
Gardening in Blighty: Working with the British Weather
Our weather is, let’s be honest, unpredictable. That means we need to choose plants that are tough enough to handle it. The magic word you’re looking for on plant labels is ‘hardy’. A fully hardy plant can withstand a British winter without any special protection.
You also need to be aware of the last frost date in your area. This is the date in spring after which it’s generally safe to plant out tender plants. In the south of England, this might be early May, but in the Scottish Highlands, it could be well into June. A quick search online for “last frost date [your town]” will tell you what you need to know.
A Garden for All Seasons: Planning for Year-Round Colour
A common beginner mistake is to buy everything that’s flowering in May at the garden centre. The result is a garden that looks incredible for a month and then deathly dull for the other eleven.
When you’re choosing plants, think about the whole year.
- Spring: Bulbs are the stars. Daffodils, crocuses, tulips. Early flowering shrubs like Forsythia.
- Summer: The main event! Roses, lavender, perennials like salvias and geraniums, and colourful annuals.
- Autumn: This season can be stunning. Think of the fiery colours of shrubs like Acer, the jewel-like flowers of asters, and ornamental grasses.
- Winter: Don’t neglect winter! This is when evergreen shrubs, plants with colourful stems (like Cornus), and early flowers like snowdrops and winter-flowering jasmine come into their own.
By choosing a few plants for each season, you’ll ensure there’s always something interesting to look at.
Top Starter Plants for a Foolproof British Garden
Here are a few virtually indestructible plants that are perfect for beginners:
Flowers (Perennials):
You Garden – 3 x Hardy Geranium 'Rozanne' in 9cm Pots – Plant of The Centaury – Drought Resistant Hardy Perennial Plants for Gardens, Pots, Borders, & Planters
Geranium ‘Rozanne’ (flowers for months on end),
Pack x6 Alchemilla Mollis (Large) Perennial Garden Plug Plants
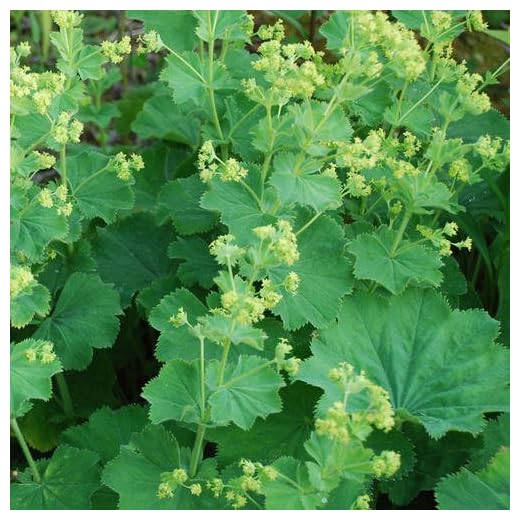
Alchemilla mollis (zesty green leaves that look amazing with raindrops on them),
Nepeta Dwarf 'Baby Cat' Catmint Perennial Garden Plug Plants Pack x6
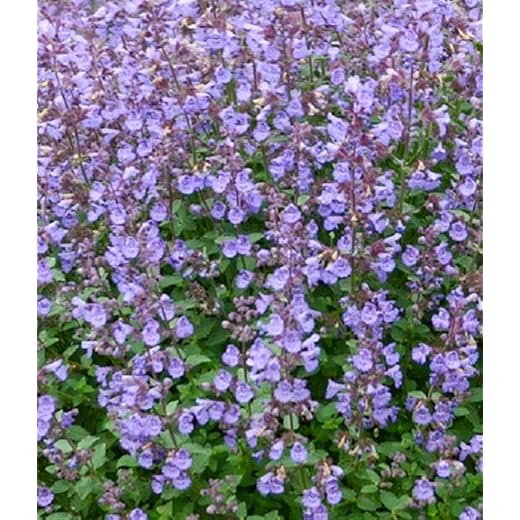
Nepeta (Catmint) (loved by bees, easy to grow),
Plant Theory Sullivantii Goldsturm Black Eyed Susan Perennial Flowering Plant Rudbeckia 2L Pot

Rudbeckia ‘Goldsturm’ (big, cheerful, daisy-like flowers in late summer).
Shrubs:
Carbeth Plants – Herb Plants – Grow Your Own Herb Garden – Lavender Hidcote Plant in 13cm Pot – Lavandula English Lavender Bush
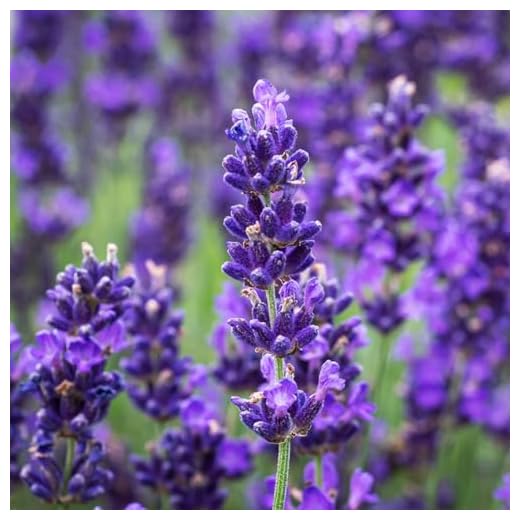
Lavender ‘Hidcote’ (for sun and classic scent),
Hydrangea Limelight Spreading Deciduous Flowering Potted Outdoor Garden Shrub (20-30cm (Incl. Pot))
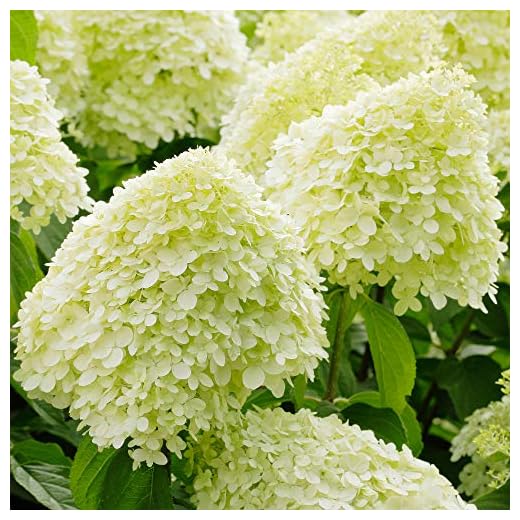
Hydrangea paniculata ‘Limelight’ (huge, impressive flowers in late summer),
GardenersDream Viburnum Tinus Laurustinus Plant – Outdoor Garden Ready Flowering Shrub – Beautiful Evergreen Garden Shrub – Potted Outdoor Plant for Borders…
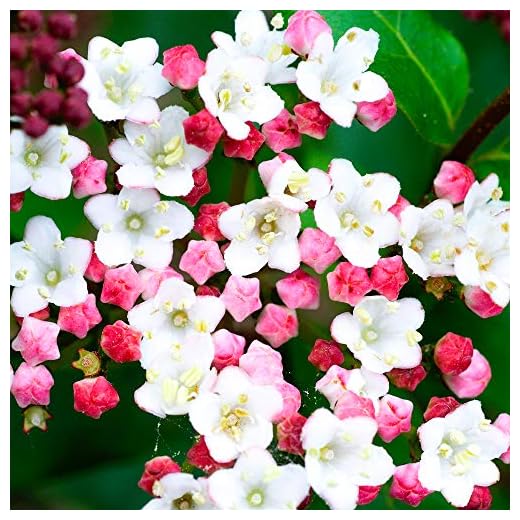
Viburnum tinus (evergreen with winter flowers).
For Shade:
Hosta 'June' Plantain Lily Herbaceous Perennial Flowering Potted Garden Shrub (20-30cm Incl. Pot)
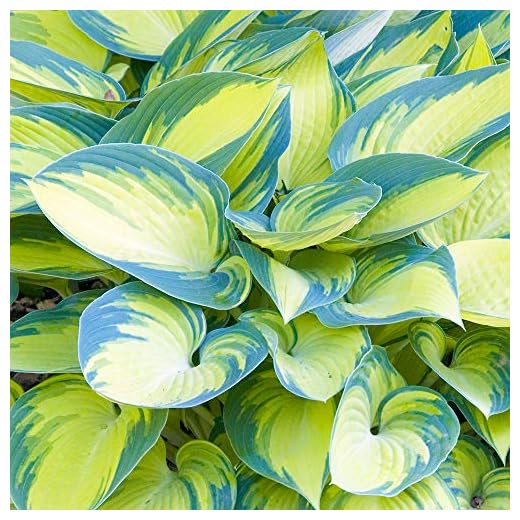
Hostas (for amazing foliage),
GrowOn Shrubs Dryopteris Copper Shield Fern 'Erythrosora' | Evergreen Plant | Outdoor Garden Ready Plant

Ferns (like Dryopteris erythrosora),
Plant Theory Spring Symphony Foam Flower Perennials Flowering Plants Tiarella 2L Pot
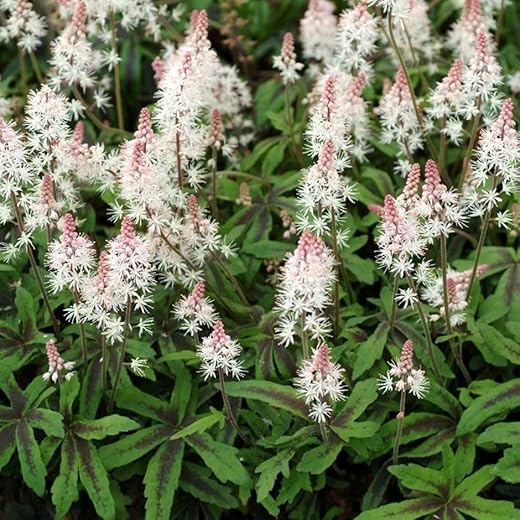
Tiarella (Foam Flower) (pretty, frothy flowers).
Easy Veg:
PREMIER SEEDS DIRECT – Lettuce Seeds – Gourmet LOOSELEAF Cutting Mix – 1500 Seeds
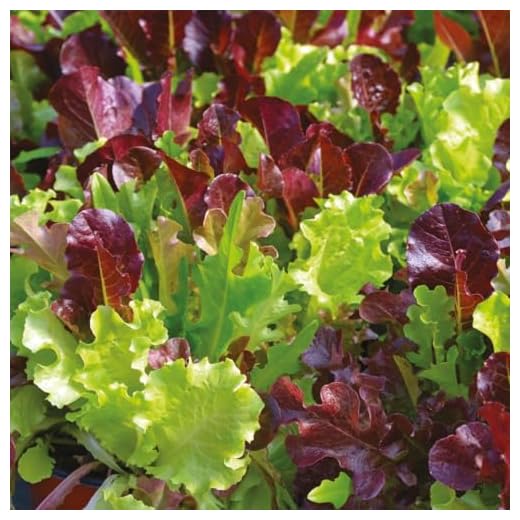
Salad leaves (cut-and-come-again varieties),
PREMIER SEEDS DIRECT – COURGETTE – Ambassador F1-25 Finest Seeds
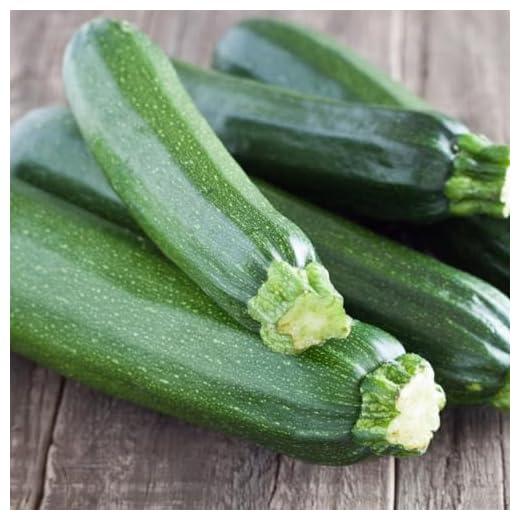
courgettes (you’ll have so many you’ll be giving them away),
Suttons Bean (Runner) Seeds – Stringless – Super Tri Mix, Vegetable Seed, Approx. 40 Seeds per Pack, Grow Your own, Ideal for Beds and Borders
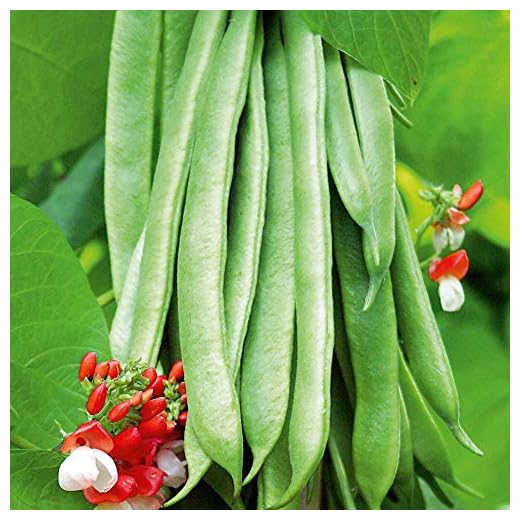
runner beans, potatoes in a bag or bucket.
Herbs:
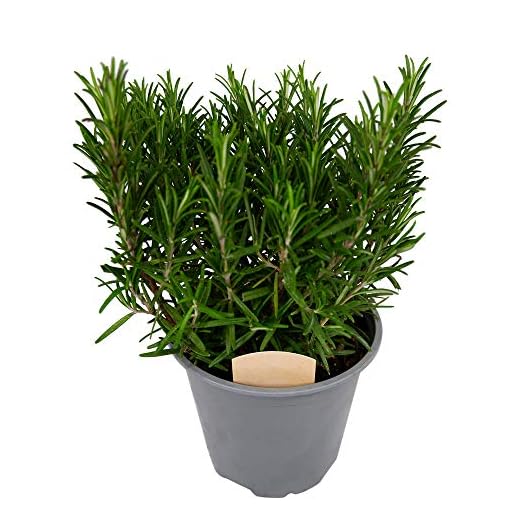
Rosemary Bush 14cm Pot – Ready to Plant in The Garden and Used for Culinary Purposes
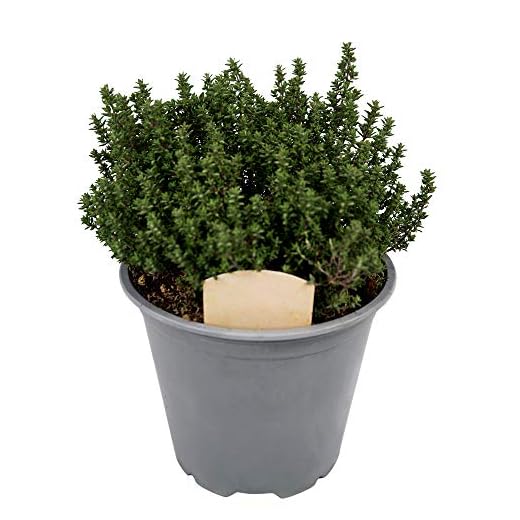
Large Thyme Plant in a 14cm Pot – for Culinary Use – Upright and Bushy Thymus Plant
Moroccan Mint Mentha spicata aromatic herb plant bees butterflies pollinators ground cover 9cm pot
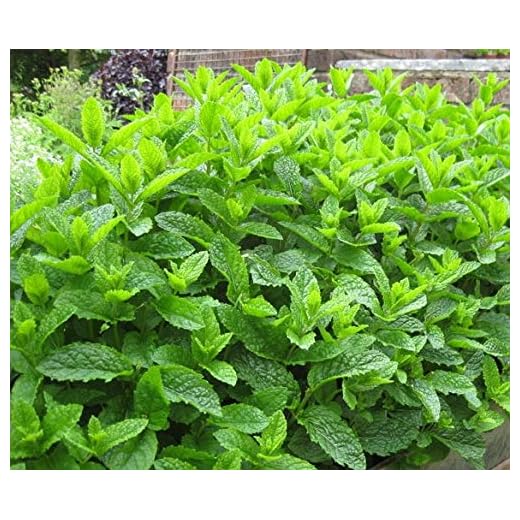
Rosemary, thyme, and mint (grow mint in a pot, or it will take over the world!).
Step 4: The Big Day – Planting and Nurturing Your New Green Friends
You’ve planned, you’ve prepped, you’ve shopped. Now for the really satisfying bit: getting those plants in the ground. Doing it properly gives your plants the best possible start in their new home.
From Pot to Plot: How to Plant Like a Pro
- Give them a drink: Water your plants thoroughly in their pots about an hour before you plan to plant them. This helps the rootball slide out easily and reduces stress on the plant.
- Dig the right hole: Dig a hole that’s roughly twice the width of the pot and the same depth. The aim is to give the roots plenty of loosened soil to grow into.
- Position your plants: Before you plant, arrange your plants in their pots on top of the soil. This is your last chance to check you’re happy with the spacing and design. Remember to check the labels for final size – give them room to grow! A good rule of thumb is to place plants so their leaves will just touch when they’re fully grown.
- Planting time: Gently ease the plant out of its pot. If the roots are tightly coiled (this is called being ‘pot-bound’), gently tease the bottom few out with your fingers to encourage them to grow outwards.
- Check the depth: Place the plant in the hole. The top of its rootball should be level with the surface of the soil in your border. A common mistake is to plant too deep. Use a bamboo cane or the handle of your trowel laid across the hole to check the level.
- Backfill and firm: Fill the soil back in around the plant, gently firming it down with your hands to get rid of any big air pockets. Don’t stamp on it!
- Water in well: Give the plant another good watering. This settles the soil around the roots and is the most important drink it will get.
The Art of Watering: Not Too Much, Not Too Little
Watering is a classic area of beginner anxiety. The best way to know if a plant needs a drink is the finger test. Stick your finger about an inch into the soil near the plant. If it feels dry, it’s time to water. If it feels damp, leave it for another day.
- It’s much better to give plants a really good soak every few days than a light sprinkle every day. A deep soak encourages roots to grow down in search of water, making the plant more resilient.
- Always water the base of the plant, not the leaves. Wet leaves can encourage fungal diseases.
- The best time to water is in the early morning or evening, so less water is lost to evaporation.
- A rainwater butt connected to a downpipe is a brilliant, sustainable way to collect water for your garden. Plants prefer rainwater to tap water anyway.
- Plants in pots and hanging baskets will need watering much more often than those in the ground, probably every day in hot weather.
Feeding Time: Giving Your Plants a Boost
If you’ve prepared your soil well with lots of organic matter, you won’t need to do a lot of extra feeding. However, some plants are ‘hungry’ and will benefit from a boost, especially those in pots where nutrients are limited.
A good all-round feed is a liquid seaweed fertiliser or a general-purpose feed like Growmore. For flowering plants and vegetables like tomatoes, a high-potash feed (like tomato food) will encourage more flowers and fruit. Just follow the instructions on the packet. Don’t overdo it – too much feed can be just as bad as too little.
A Weed is Just a Plant in the Wrong Place (But Get Rid of It Anyway)
Weeds compete with your plants for water, light, and nutrients. The key is to tackle them little and often. A ten-minute session once a week is far less painful than a huge, back-breaking job once a month. If you can, pull them out by hand when they’re small, especially after rain when the soil is soft. A hoe is also a great tool for slicing through the tops of annual weeds on a dry day.
Step 5: The Long Game – Maintaining and Enjoying Your Garden
A garden is never ‘finished’. It’s a living, breathing thing that changes and evolves. The final step is about the gentle, ongoing tasks that keep it looking its best, and most importantly, about taking the time to enjoy the space you’ve created.

Uninvited Guests: A Gentle Approach to Pest Control
You will get pests. Slugs will nibble your hostas, and aphids will cluster on your roses. It’s a normal part of a healthy ecosystem. The goal isn’t to eradicate every single bug, but to keep them in balance. Before you reach for a chemical spray, try these wildlife-friendly approaches first.
- Slugs and Snails: Go out at night with a torch and pick them off. You can also use beer traps (a jam jar sunk into the soil and filled with cheap beer) or wool pellets around the base of vulnerable plants.
- Aphids (Greenfly/Blackfly): A strong jet of water from a hose or spray bottle can knock them off. You can also just squish them with your fingers. Encourage natural predators like ladybirds and hoverflies by planting flowers they love, like marigolds and dill.
- Encourage predators: A healthy garden is full of pest-eaters. A small pond will attract frogs, and a log pile can be a home for beetles. Birds are also brilliant pest controllers, so put up a bird feeder.
The Kindest Cut: A Beginner’s Guide to Pruning and Deadheading
Deadheading is one of the easiest and most rewarding jobs. It simply means snipping off faded flowers. This stops the plant from putting its energy into making seeds and encourages it to produce more flowers instead. For plants like roses, cosmos, and dahlias, regular deadheading can keep them flowering for months.
Pruning can seem scary, but the basics are simple. You’re usually pruning to remove dead or diseased branches, to improve the shape of a plant, or to encourage more flowers. The general rule for many flowering shrubs is to prune them right after they have finished flowering. A good pair of sharp secateurs is a must-have tool for this.
A Gardener’s Year: A Quick Look at Seasonal Jobs
- Spring: A busy time! Tidy up borders, sow seeds, plant potatoes, and protect new shoots from slugs.
- Summer: The main season for watering, feeding, and weeding. Keep deadheading to encourage more flowers.
- Autumn: Time for the big tidy-up. Rake up fallen leaves (to make leaf mould!), cut back finished perennials, and plant spring-flowering bulbs for next year.
- Winter: A time for rest, for both you and the garden. Plan for next year, clean your tools, and enjoy the structure of your evergreen plants.
The Best Bit: Sit Back and Smell the Roses
This is the most important part of all. Don’t get so caught up in the jobs that you forget to enjoy your garden. Make time to sit in it. Have your breakfast outside, read a book, watch the birds. Notice the small changes, the new buds unfurling, the scent of the flowers after rain.
Your garden won’t be perfect. Plants will die, weeds will appear, and some of your plans won’t work out. That’s okay. Every gardener, from the absolute beginner to the head gardener at Kew, is always learning. Gardening teaches you patience, resilience, and a deep connection to the seasons. It’s a rewarding, creative, and joyful process.
Your garden journey is just beginning. Enjoy every step.
Further Reading
To continue your gardening journey, here are some of the most respected and authoritative resources available for UK gardeners:
- Royal Horticultural Society (RHS): The ultimate authority on all things gardening in the UK. Their website is a treasure trove of expert advice, plant finders, and inspiration.
- BBC Gardeners’ World: The online home of the beloved TV programme. It offers practical, timely advice, how-to videos, and tips from trusted experts like Monty Don.
- The National Trust: For inspiration from some of the most beautiful and historically significant gardens in the country. Their articles often feature tips from their own expert gardening teams.
Subscribe for more
Get the latest posts delivered monthly so you never miss an article. Sign up below: