The Guide to Creating Posts and Pages in WordPress: A Beginner’s Handbook for Brits
Learn the difference between posts and pages and get a step-by-step walkthrough of creating your first piece of content using the WordPress block editor.
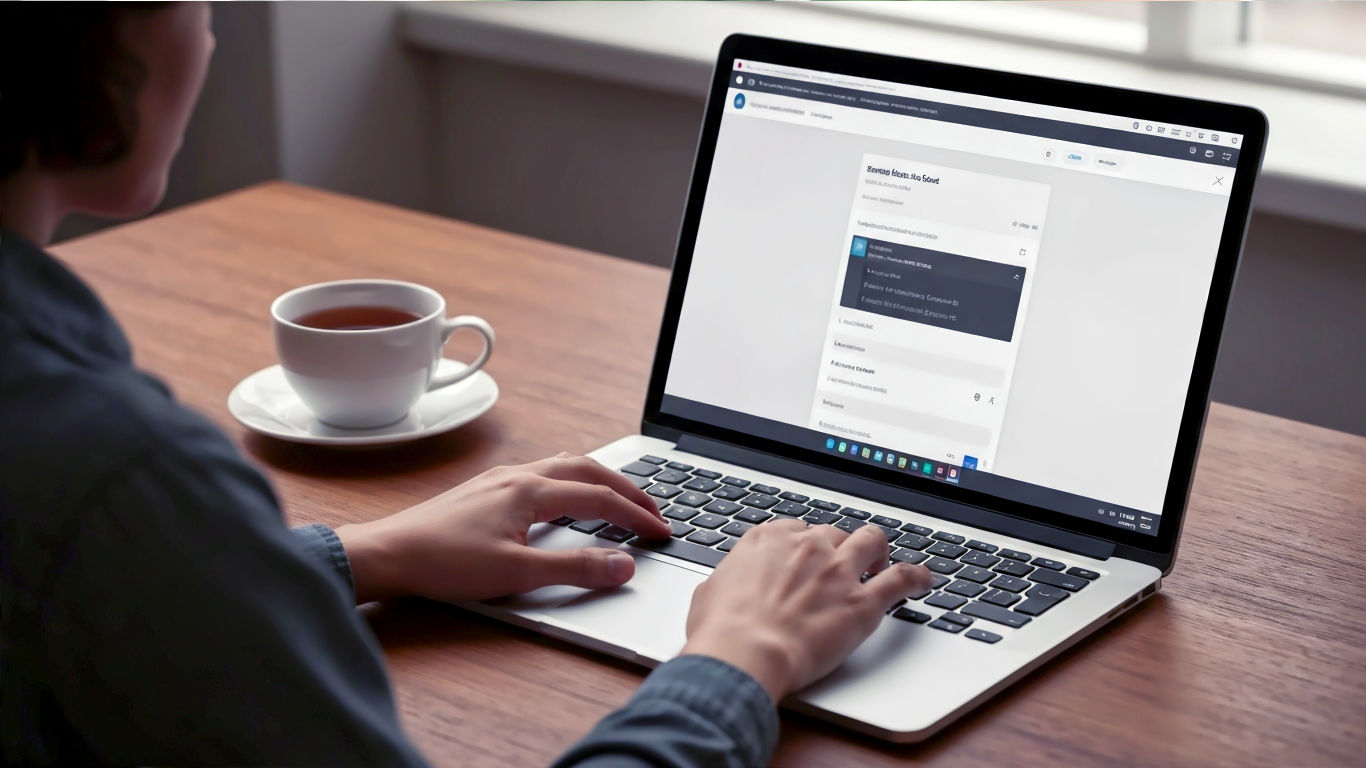
This post may contain affiliate links. If you make a purchase through these links, we may earn a commission at no additional cost to you.
Hello, and welcome to the only guide you’ll ever need on creating content in WordPress. If you’re staring at your new WordPress dashboard feeling a bit like you’ve been handed the keys to a spaceship without a manual, don’t worry. You’re in the right place. By the time we’re done, you’ll be creating posts and pages with the confidence of a seasoned pro.
Think of WordPress as the world’s most popular toolkit for building websites. It powers everything from your neighbour’s baking blog to the websites of massive companies like Sony Music and even The Rolling Stones. At its heart, it’s a system designed to help you share your ideas, products, or stories with the world. And the two most fundamental ways to do that are through posts and pages.
Getting started can feel a little daunting, but I promise it’s much simpler than it looks. It’s a bit like learning to make a proper cup of tea. There are a few key steps, but once you know them, you can do it with your eyes closed and even start getting creative with it.
In this guide, we’ll walk through every single step together. We’ll cover the crucial difference between a post and a page, take a tour of the WordPress editor, learn how to add text, images, and videos, and finally, hit that all-important ‘Publish’ button. Let’s get started.
The Big Question: What’s the Difference Between a Post and a Page?
Before we dive in, let’s clear up the most common point of confusion for new WordPress users. Posts and pages look very similar, but they have different jobs. Getting this right from the start will save you a headache later on.
Posts: The Heartbeat of Your Site
Posts are for timely content. They are the articles, news updates, and stories that make up the flowing stream of your blog. Think of them as entries in a diary or a logbook. They’re organised by date, with the newest one appearing first.
You use posts for things like:
- Weekly company news
- A review of a new restaurant
- Your thoughts on a current event
- A recipe you just tried
- Details of an upcoming sale
Posts are dynamic. They’re meant to be published regularly to keep your site fresh and give visitors a reason to come back. They have categories and tags to help you organise them and help your readers find related content. For example, a post about making a Victoria sponge might have the category “Baking” and the tags “cakes,” “classic recipes,” and “desserts.”
Pages: The Foundation of Your Site
Pages are for static, timeless content. They are the cornerstones of your website that don’t change very often. Think of them as the permanent signposts and information boards.
You use pages for essential information like:
- Your Home page
- An About Us page telling your story
- A Contact page with your details and a map
- A Services page outlining what you offer
- Your Privacy Policy page
Pages are hierarchical, meaning you can have ‘sub-pages’ (or ‘child pages’) nested under a main ‘parent page’. For example, you might have a main “Services” page with sub-pages for “Web Design,” “Copywriting,” and “SEO Services.” Unlike posts, pages don’t have categories or tags and aren’t listed by date.
In a Nutshell:
- Posts are for your blog. They’re timely, organised by categories and tags, and appear in reverse chronological order.
- Pages are for your main website structure. They’re timeless, can be organised in a parent/child hierarchy, and don’t have categories or tags.
Now that we’ve cleared that up, let’s get our hands dirty and create one.
Finding Your Way Around: The WordPress Dashboard
When you first log in to your WordPress site, you’ll land on the Dashboard. It can look a bit busy, but we only need to focus on the menu running down the left-hand side of the screen. This is your mission control.
To create a new post or page, you have two options:
- The Left-Hand Menu:
- To create a post, hover over Posts and click Add New.
- To create a page, hover over Pages and click Add New.
- The Top Toolbar:
- At the very top of the screen, you’ll see a black bar. Hover over + New and you’ll see a dropdown menu. From here, you can select Post or Page.
Both methods take you to the exact same place: the WordPress Editor. This is where the magic happens.
The Workshop: A Deep Dive into the WordPress Block Editor
Welcome to the WordPress Block Editor, also known as Gutenberg. If you’ve used WordPress in the past, this might look a bit different from the old ‘Classic Editor’, which resembled a simple word processor like Microsoft Word.
The modern Block Editor is much more powerful and intuitive. The best way to think about it is like building with digital LEGOs. Every single piece of your content—a paragraph of text, an image, a video, a quote, a button—is a separate ‘block’. You simply stack these blocks on top of each other to build your post or page.
This approach gives you incredible flexibility to create beautiful, media-rich layouts without needing to know a single line of code.
Understanding the Editor Interface
Let’s take a quick tour of the editor screen. It’s split into three main areas.
- The Main Content Area (The Canvas): This is the large central space where you’ll do your writing and add your blocks. It’s your canvas. You’ll start by adding a title where it says “Add title”.
- The Top Toolbar: At the top left, you’ll find some important tools.
- The ‘+’ Icon (Block Inserter): This is your LEGO box. Clicking this opens a menu of all the available blocks you can add to your page.
- Tools: Here you can switch between editing and selecting blocks.
- Undo and Redo Arrows: Your best friends. Don’t be afraid to experiment; you can always undo any changes.
- Document Overview: Shows you an outline of your content’s structure (headings, paragraphs, etc.).
- The Right-Hand Sidebar (The Settings Panel): This panel is context-sensitive.
- When you haven’t selected a specific block, it shows settings for the entire Post or Page (like categories, tags, and the featured image).
- When you click on a block, this panel switches to show settings for that specific Block (like changing the text size of a paragraph or the style of an image). If you can’t see this sidebar, click the cog icon (⚙️) in the top right corner.
Now, let’s start building.
The Basics: Adding and Editing Text
Text is the foundation of most content. Let’s look at the most common text-based blocks.
The Title
First, give your post or page a title. A good title is clear, descriptive, and engaging. For a post, this will be your article’s headline. For a page, it’ll be something simple like “About Us” or “Contact Details.”
The Paragraph Block
Once you’ve added a title, just click below it and start typing. WordPress will automatically create a Paragraph block for you. It’s the default block for any standard text.
When you have a Paragraph block selected, you’ll see a small toolbar appear just above it. This lets you do things like:
- Make text bold or italic.
- Add a link.
- Change the text alignment (left, centre, right).
In the right-hand sidebar (with the Block tab selected), you can find more advanced options, such as changing the text and background colour or adjusting the font size.
Pro Tip: To start a new paragraph, just hit the Enter key. This will automatically create a new Paragraph block below the current one, ready for you to continue writing.
The Heading Block
Headings are crucial for organising your content. They break up long walls of text, making your article much easier for people to read and scan. They are also incredibly important for Search Engine Optimisation (SEO), as they help search engines like Google understand the structure and key topics of your content.
To add a heading, click the ‘+’ icon (either in the top left or the one that appears on a new line in the editor) and search for “Heading.”
Headings come in different levels, from H1 to H6. Here’s how to use them correctly:
- H1 (Heading 1): You should only ever have one H1 on your page. WordPress automatically uses your post or page title as the H1, so you don’t need to add another one.
- H2 (Heading 2): Use these for your main section titles (like the ones used in this article).
- H3 (Heading 3): Use these for sub-sections within an H2 section.
- H4, H5, H6: Use these for even finer levels of sub-headings. It’s rare you’ll need to go past H4 unless you’re writing a very long, technical document.
Think of it like an outline for a report. Your H2s are the main points, and your H3s are the supporting details for each point.
Bringing Your Content to Life: Adding Media
A picture is worth a thousand words, and modern web content is all about mixing text with engaging media. The Block Editor makes this incredibly easy.
The Image Block
To add an image, click the ‘+’ icon and choose the Image block. You’ll be given three options:
- Upload: Select an image file directly from your computer.
- Media Library: Choose an image you’ve already uploaded to your WordPress site.
- Insert from URL: Paste a link to an image that’s hosted on another website (use this one sparingly).
Once you’ve added your image, you can click on it to access its settings. The toolbar above the image lets you change its alignment or crop it. The sidebar on the right gives you more powerful options:
- Style: Choose between a default sharp-cornered look or a rounded style.
- Alt Text (Alternative Text): This is very important! Alt text is a short, written description of the image. It’s used by screen readers for visually impaired users and by search engines to understand what the image is about. Always write a clear, descriptive alt text. For example, instead of “image123.jpg,” write “A golden retriever puppy chasing a red ball on a grassy lawn.”
- Image Size: You can choose from a few preset sizes (Thumbnail, Medium, Large) or set custom dimensions.
The Gallery Block
Want to show off a collection of photos? Use the Gallery block. It works just like the Image block, but you can select multiple images at once. In the block settings, you can control how many columns are in your gallery and whether clicking on an image links to a larger version.
The Video Block (Embedding from YouTube/Vimeo)
While you can upload videos directly to WordPress, it’s generally a bad idea. Videos take up a lot of server space and can slow your website down.
The best practice is to upload your video to a service like YouTube or Vimeo and then embed it on your page. The Block Editor makes this ridiculously simple.
- Copy the URL of your YouTube or Vimeo video.
- Go to the WordPress editor and simply paste the URL onto a new line.
- WordPress will automatically recognise the link and convert it into a YouTube or Vimeo block, embedding the video player right there in your content. It’s that easy!
Exploring Other Useful Blocks
The beauty of the Block Editor is the sheer variety of blocks available. Here are a few more essentials you’ll find yourself using all the time.
- List Block: Creates a bulleted or numbered list. Perfect for instructions or key takeaways.
- Quote Block: Styles text as a pull quote, making it stand out. You can also add a citation.
- Button Block: Creates a clickable button. You can customise the text, link, and colours to encourage visitors to take an action, like “Contact Us Today” or “Download Our Brochure.”
- Separator Block: Adds a horizontal line to visually break up different sections of your content.
- Columns Block: This one is brilliant for layout. It allows you to split a section into two or more columns, letting you place text next to an image, for example.
Don’t be afraid to click the ‘+’ icon and browse through the available blocks. There are blocks for tables, calendars, social media icons, and so much more. Experiment and see what you can create!
A Quick Word on the Classic Editor
If your website is a bit older or hasn’t been updated, you might still be using the Classic Editor. It looks and feels more like a traditional word processor, with a single text box and a toolbar of options at the top (similar to Microsoft Word or Google Docs).
While it’s perfectly functional, it doesn’t offer the same drag-and-drop flexibility or rich layout options as the modern Block Editor. Most new WordPress sites use the Block Editor by default, and it’s the future of the platform. If you have the choice, we highly recommend getting comfortable with the Block Editor.
The Pre-Flight Checklist: Settings Before You Publish
You’ve written your text, added your images, and your content looks fantastic. You’re almost ready to go live. Before you hit that big blue button, let’s look at the important settings in the right-hand sidebar.
Make sure you have the Post (or Page) tab selected at the top of the sidebar, not the Block tab. These settings apply to the entire document.
For Both Posts and Pages
- Status & Visibility: This controls who can see your content.
- Public: The default. Everyone can see it.
- Private: Only logged-in administrators and editors on your site can see it.
- Password Protected: Visitors will need to enter a password to view the content.
- Publish: By default, this is set to Immediately. But if you click on it, you can select a future date and time. This is called scheduling. It’s an incredibly useful feature for planning your content in advance. You could write a whole week’s worth of blog posts on a Monday and schedule them to go live one each day.
- Permalink (URL Slug): This is the web address for your content. WordPress automatically generates one based on your title, but it’s good practice to check it. Keep it short, descriptive, and use dashes (
-) to separate words. For example, a good permalink for this article would behow-to-create-wordpress-post-page. - Featured Image: This is the main image that represents your post or page. It’s what often appears at the top of the content, on your main blog page next to the article summary, and when you share the link on social media sites like Facebook or Twitter. It’s a must-have for posts.
- Excerpt: This is a short, hand-crafted summary of your content. Many WordPress themes will display this excerpt on your main blog page. If you leave it blank, WordPress will usually just take the first 55 words of your article automatically.
- Discussion: Here you can choose whether to allow comments on this specific post or page. Generally, you want comments enabled for posts (to encourage engagement) but disabled for pages (you don’t need comments on your ‘About Us’ page).
Settings for Posts Only
- Categories: These are the broad sections for your posts. Think of them as the main chapters of your website’s book. A post can have one or two categories. You should create a handful of high-level categories to keep your content neatly organised (e.g., “News,” “Recipes,” “Travel Guides”).
- Tags: These are more specific keywords that describe the details of your post. Think of them as the index at the back of the book. You can add several tags to a post. For a recipe post, tags might include “baking,” “chocolate,” “gluten-free,” “dessert.”
Settings for Pages Only
- Page Attributes:
- Parent Page: This allows you to create a hierarchy. For instance, you could create a page called “Our Team” and set its parent page to “About Us.” Its URL would then become something like
yourwebsite.co.uk/about-us/our-team. - Order: This lets you set a custom order for your pages if your theme uses it.
- Parent Page: This allows you to create a hierarchy. For instance, you could create a page called “Our Team” and set its parent page to “About Us.” Its URL would then become something like
The Big Moment: Publishing Your Work
You’ve done it. You’ve written your content, added your media, and configured all your settings. The pre-flight checklist is complete.
- Preview: Before you go live, it’s always a good idea to see exactly what your content will look like to a visitor. In the top-right corner, click the Preview button. You can choose to preview in a new tab on a desktop, tablet, or mobile device.
- Publish: When you’re happy with how everything looks, click the big blue Publish button in the top-right corner.
- Final Check: WordPress will ask you to double-check your settings one last time (e.g., Visibility, Publish date). If everything is correct, click Publish again.
That’s it! Your content is now live on the internet. WordPress will show you a confirmation message with a link to your new post or page. Click it and admire your handiwork.
Oops, I Made a Mistake: How to Edit Existing Content
Need to fix a typo or update some information? No problem. Editing existing content is just as easy as creating it.
From your WordPress Dashboard, go to the left-hand menu:
- Click Posts > All Posts to see a list of all your posts.
- Click Pages > All Pages to see a list of all your pages.
Find the item you want to edit in the list, hover your mouse over its title, and you’ll see a few options appear. Click Edit. This will take you right back to the Block Editor, where you can make your changes.
Once you’re done, the ‘Publish’ button will have changed to an Update button. Just click ‘Update’, and your changes will be saved and reflected on the live site immediately.
Conclusion: You’re Now a WordPress Publisher
And there you have it. You’ve gone from a blank screen to a fully published piece of content. We’ve covered the crucial difference between posts and pages, navigated the Block Editor, added text, images, and videos, and mastered the publishing process.
Like any new skill, it might feel a bit clunky at first. But the key is to practice. Don’t be afraid to create a test post and just play around with all the different blocks and settings. The more you use the editor, the more it will become second nature.
You now have the fundamental knowledge to share your voice, your business, or your passion with the world. Congratulations on becoming a WordPress publisher! Now, what will you create next?
Further Reading
To continue your WordPress journey, here are some of the best resources available:
- WordPress Learn (Official): The official learning hub from the creators of WordPress. https://learn.wordpress.org/
- WPBeginner: An outstanding resource for tutorials on absolutely everything to do with WordPress, aimed at non-techy users. https://www.wpbeginner.com/
- Ahrefs Blog: While focused on SEO, their articles on content creation and WordPress are industry-leading. https://ahrefs.com/blog/
- Kinsta Blog: Kinsta is a hosting company, but their blog is full of incredibly in-depth articles on WordPress performance and tutorials. https://kinsta.com/blog/