Guide to Chisel Sets Under £500: A UK Woodworker’s Handbook
Explore our list of the top-rated chisel sets available for under £500. These sets combine quality and affordability, making them perfect for professionals and hobbyists alike. Find your ideal tools today.
This post may contain affiliate links. If you make a purchase through these links, we may earn a commission at no additional cost to you.
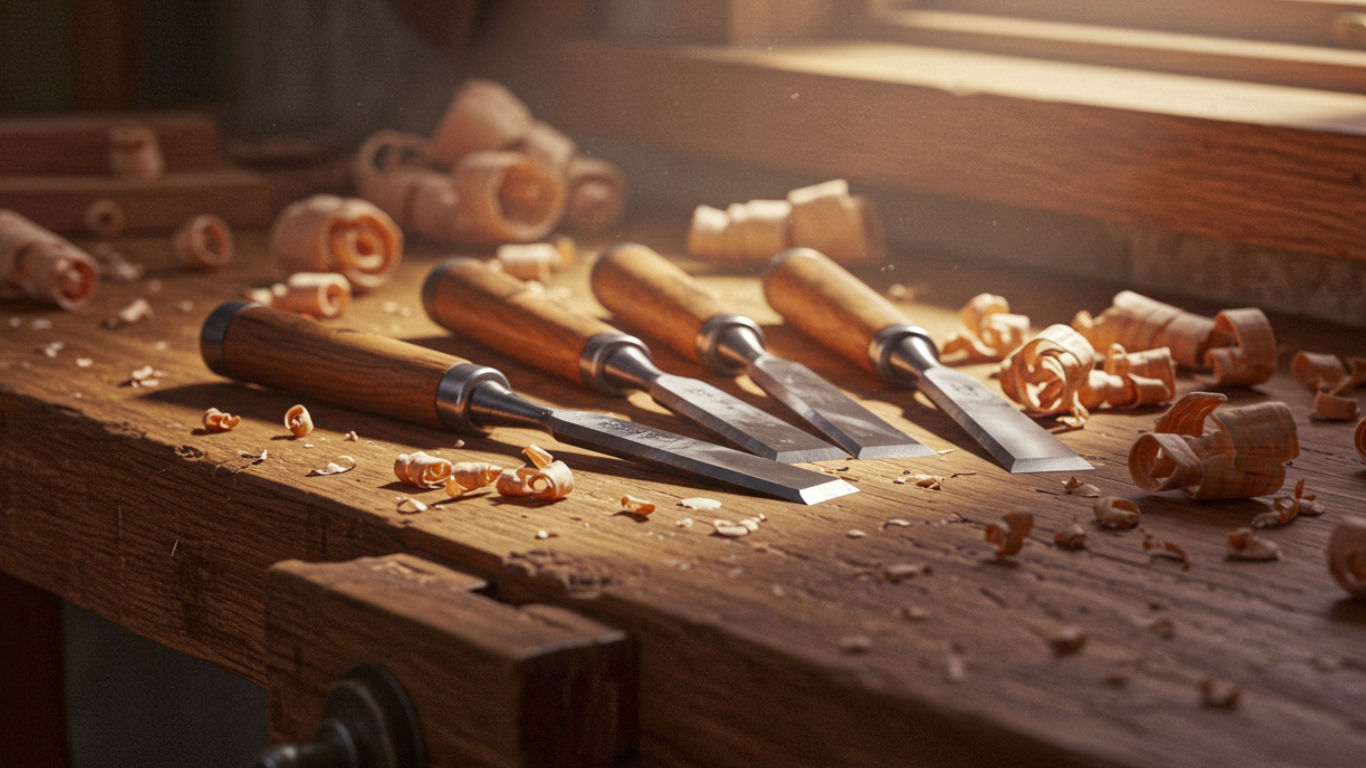
Step into any workshop, from a grand old barn in the Cotswolds to a tidy shed in a suburban London garden, and you’ll likely find a set of chisels. They are, perhaps, the most fundamental of all woodworking hand tools. A simple length of sharpened steel with a handle, yet in the right hands, it can shape, join, and refine wood with a precision that power tools can only dream of. It’s a direct connection between your hands, your mind, and the material.
But if you’re looking to buy your first serious set, or upgrade from the cheap-and-cheerful ones you bought from B&Q for a single DIY job, the world of chisels can seem a bit daunting. You see prices ranging from £20 to well over £1,000. What, really, is the difference? And what can you expect for a budget of up to £500?
This guide is here to answer just that. We’re not just going to list products; we’re going to give you the knowledge to understand them. Think of this as your complete education in chisels. We’ll break down everything from the steel in the blade to the wood on the handle, so you can walk away knowing exactly what makes a good chisel good, and which set is the right long-term investment for your workshop.
Why Spend Up to £500? The Difference Between a Tool and a Toy
First things first, let’s address the budget. Why spend this much when you can get a set for the price of a takeaway pizza? The answer lies in three key areas: steel quality, craftsmanship, and longevity.
A cheap chisel is made from soft, low-grade steel. It will feel sharp out of the box, but that edge will fold over or chip the moment it meets a tough piece of oak. You’ll spend more time sharpening it than actually using it, which is incredibly frustrating.
A chisel set in the up-to-£500 bracket is a different beast entirely. This is where you enter the world of proper tool steel. This steel is engineered to do two things brilliantly: get incredibly sharp and, crucially, stay sharp for a long time. This means more time working and less time at the sharpening station.
Furthermore, these tools are better made. The handles are comfortable and durable, designed to be held for hours. The blade is properly ground, flat, and balanced. It feels less like a disposable object and more like a precision instrument. You’re not just buying a tool; you’re buying a reliable partner for your projects for decades to come. Think of it as the difference between a cheap kitchen knife that squashes tomatoes and a professional chef’s knife that glides through them.
Top 10 Sub-£500 Chisel Sets You Can Buy Right Now
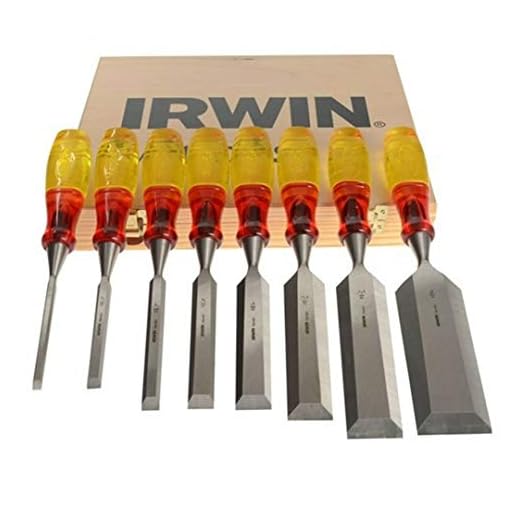
XMS Irwin XMS18S373S8 Marples Limited Edition Splitproof Chisel Set 8 Piece, Wood

Narex Bevel Edge Chisel Set in Wooden Box, Set of 6 pcs

Bahco 424P-S6-EUR BH424P-S6-EUR Chisel in Wooden Box, Multi-Colour, 6/10/12/18/25/32 mm, Set of 6 Pieces

IRWIN Marples M750 High Impact Chisels 5-Piece Wallet Set, 10503421

Irwin Marples M444 Blue Chip Bevel Edge Chisel – Set of 6, MAR444S6
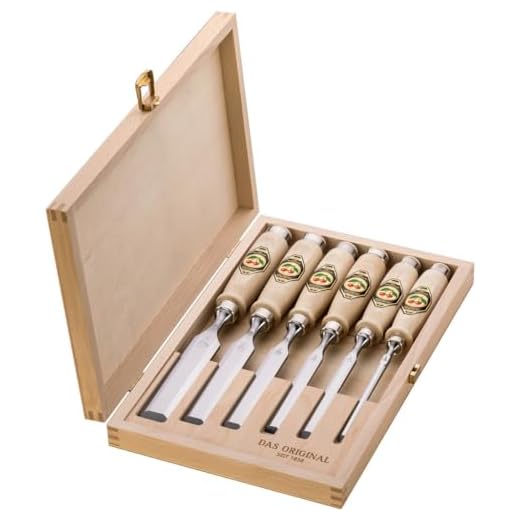
Kirschen 1101000 Number 1101 Firmer Chisel Set with Hornbeam Handles – Multi-Colour (6-Piece)
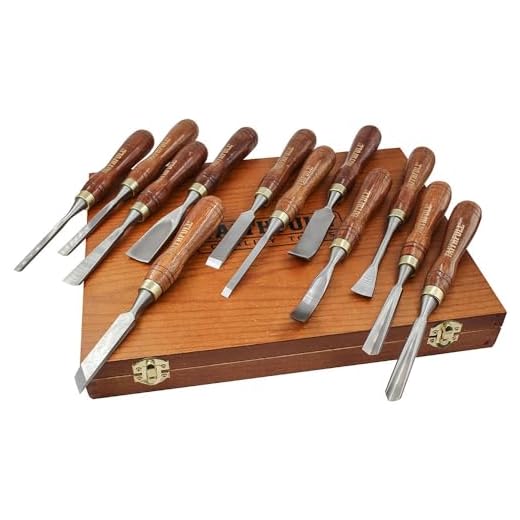
Faithfull Wood Carving Chisel Set of 12 in Presentation Case, Walnut Color

Bahco 424-P Bevel Edge Chisel Set 8 Wood Box BAH424PS8

Narex Premium Bevel Edge Chisel Set with Stained Hornbeam Wood Waxed Handles, Set of 4 pcs

STANLEY FATMAX 5 Piece Pro Dynagrip Chisel Set with Bevel Edge includes 6, 12, 18, 25, 32mm, 2-16-0269
Under the Microscope: The Anatomy of a Wood Chisel
At first glance, a chisel looks simple. But like any well-designed tool, every part has a purpose. Let’s break it down.
The Handle: Your Connection to the Work
This is where you hold the tool. It’s most commonly made of wood (like Ash, Hornbeam, or Beech) or a tough, modern plastic composite. The shape is vital for comfort and control. Some are designed to be struck with a mallet, while others are purely for pushing by hand.
The Ferrule and Bolster: The Unsung Heroes
You’ll often see metal rings on a chisel. The ferrule is the ring at the top of the handle that stops the wood from splitting when you hit it with a mallet. The bolster is the thick metal collar where the blade meets the handle. It provides strength and stops the blade from being driven back into the handle. These small details are often overlooked but are signs of a well-made, durable tool.
The Blade: Where the Magic Happens
This is the business end. A good blade should be perfectly flat on its back (the non-bevelled side). If it isn’t, it will be impossible to get a properly sharp edge. The quality of the steel here is what you’re paying for.
At the very tip, you have the cutting edge. This is formed by two surfaces meeting: the flat back and the bevel on the front. The angle of this bevel (usually 25-30 degrees) determines how the chisel cuts.
Know Your Chisels: A Guide to the Main Types
Not all chisels are created equal. Different jobs call for different designs. For a general-purpose set under £500, you’ll mostly be dealing with one main type, but it’s good to know the others.
The All-Rounder: The Bevel Edge Chisel
This is the Jack-of-all-trades in the chisel world and the type that will make up the bulk of any set you buy. They are called "bevel edge" because the sides of the blade are tapered, or bevelled. This design makes the chisel lighter and allows it to get into tight corners, which is essential for jobs like cleaning out the corners of dovetail joints. They are strong enough to be used with a mallet for chopping out waste wood but are also suitable for more delicate paring work. For 90% of woodworking tasks, this is the chisel you’ll reach for.
The Powerhouse: The Mortise Chisel
If a bevel edge chisel is a scalpel, a mortise chisel is a crowbar. It has a thick, chunky, rectangular blade designed for one thing: levering out big chunks of wood when cutting a mortise (a rectangular hole that accepts a tenon to form a joint). They are built to withstand heavy mallet blows without flinching. You probably won't find these in a general-purpose set, but it’s useful to know what they are.
The Finesse Tool: The Paring Chisel
Paring chisels are long, thin, and delicate. They are never meant to be hit with a mallet. Instead, they are used for carefully shaving off thin slices of wood to make a joint fit perfectly. They are pushed by hand, giving you ultimate control for those final, precise adjustments.
The Specialist: Other Chisels You Might Meet
You might also come across butt chisels, which are shorter, stubbier versions of bevel edge chisels, ideal for working in tight spaces or for tasks where you need more direct control, like fitting hinges.
The Soul of the Chisel: Understanding Steel
This is the most important part of this guide. The type of steel used in a chisel blade dictates its performance more than any other factor. When you're spending up to £500, you have a right to expect excellent steel. Let’s decode the jargon.
Carbon Steel: The Traditional Choice
Simple high-carbon steel has been used to make tools for centuries. It’s fantastic because it can be honed to an incredibly fine, razor-sharp edge. It’s also relatively easy and quick to sharpen. The downside? It’s not very resistant to rust, so it needs to be kept lightly oiled. It also doesn't hold its edge for as long as more modern alloy steels. You might find it in more traditional, Japanese-style chisels.
Chrome-Vanadium (Cr-V) Steel: The Modern Workhorse
This is probably the most common type of steel you’ll find in good-quality European and British chisels. By adding chromium and vanadium to the steel, manufacturers make it much tougher and more resistant to wear. This means a Cr-V chisel will hold its edge for much longer than a plain carbon steel one. It might take a couple of minutes longer to sharpen, but the trade-off is well worth it for most woodworkers. This is the gold standard for general-purpose chisel sets.
High-End Steels (A2, O1, PM-V11): The Premium Players
As you get towards the top of our £500 budget, you might start seeing these names.
- O1 Steel: A classic oil-hardening tool steel. It’s known for taking a very fine edge, similar to carbon steel, but is a bit tougher.
- A2 Steel: An air-hardening tool steel. It’s even tougher and more wear-resistant than O1. It holds an edge for a very long time but is correspondingly harder to sharpen. It’s a favourite for people who work with hard, abrasive woods.
- PM-V11 Steel: This is a modern "super steel." It's made using a special process called Powder Metallurgy. The result is a steel that is incredibly tough (meaning it resists chipping) and has fantastic edge retention. It's considered by many to be one of the best all-round chisel steels available today, but it comes at a premium price.
What on Earth is Rockwell Hardness (HRC)?
You’ll often see a number like "61 HRC" in a chisel’s description. This is simply a standardised measurement of the steel's hardness. For a good wood chisel, you want to see a hardness of around 58 to 62 HRC.
- Below 58 HRC: The steel is likely too soft. The edge will dull or fold over very quickly.
- Above 62 HRC: The steel is very hard and will hold an edge for an exceptionally long time. However, it can become brittle (more prone to chipping if you hit a knot) and will be much more difficult to sharpen.
The 58-62 HRC range is the "sweet spot" that balances edge retention with toughness and ease of sharpening.
Getting a Grip: A Word on Handles
The blade might do the cutting, but the handle is what you interact with. Comfort is key.
Tang vs. Socket: How It’s All Held Together
There are two main ways a blade is attached to a handle:
- Tang Chisel: The blade narrows down to a pointy spike (the tang) which is inserted into a hole in the handle. This is common in lighter-duty chisels.
- Socket Chisel: The handle is tapered and fits into a cone-shaped "socket" at the end of the blade. This is a much stronger and more durable construction, as the force from a mallet blow is transferred over a much larger area. Socket chisels are generally considered superior, especially for tools that will see heavy use.
Wood vs. Modern Composites: A Matter of Taste and Durability
- Wooden Handles: Traditional and beautiful. They feel warm and natural in the hand and absorb vibration well. Hardwoods like Ash, Beech, and Hornbeam are common choices. Boxwood is a premium option known for its density and lovely feel.
- Plastic/Composite Handles: Don’t dismiss them! A well-designed modern handle can be incredibly ergonomic and virtually indestructible. They are impervious to moisture and can often withstand more abuse than a wooden handle.
The choice often comes down to personal preference. Do you prefer the classic aesthetic and feel of wood, or the rugged practicality of a modern composite?
The Sharpest Point: An Introduction to Honing Your Edge
Here is a simple truth of woodworking: A £400 chisel that is blunt is less useful than a £10 chisel that is razor-sharp.
No chisel, no matter how expensive, stays sharp forever. Learning how to sharpen your tools is a non-negotiable part of woodworking. Don't be intimidated by it; it’s a quiet, satisfying skill to learn.
Even brand-new, high-quality chisels often need a final honing before their first use. They come ground from the factory, but you can almost always improve the edge.
To start, you’ll need a sharpening system. The two most popular choices are:
- Waterstones: These are blocks of abrasive material that use water as a lubricant. They come in different "grits," from coarse (for repairing a chipped edge) to very fine (for polishing the edge to razor sharpness).
- Diamond Plates: These are steel plates coated with tiny industrial diamonds. They cut quickly, stay perfectly flat, and last a very long time.
You'll also want a honing guide. This is a simple jig that holds the chisel blade at a consistent angle as you move it back and forth on the sharpening stone. It takes the guesswork out of sharpening and guarantees a perfect, repeatable bevel angle every time. Budget around £50-£100 for a basic but decent sharpening setup—it’s just as important an investment as the chisels themselves.
Putting Blade to Wood: Basic Techniques and Safety
Once your chisel is properly sharp, it's time to use it. A sharp chisel is actually a safe chisel, because you don’t need to use excessive force. It will do the work for you.
Safety First, Always
This is the golden rule of using chisels: Always keep both hands behind the cutting edge. Never, ever place your free hand in front of the blade to hold the workpiece. If the chisel slips, it will cause a serious injury. Clamp your work down securely to a bench. That way, both of your hands are free to control the tool.
Choosing Your Mallet
When you need to remove a lot of wood, you’ll use a mallet. Don’t use a steel hammer! It will destroy the handle of your chisel. A traditional wooden mallet (usually made from Beech) is the classic choice. A modern, soft-faced hammer or a round-headed carver's mallet also works brilliantly.
Basic Cuts: Paring and Chopping
- Paring: This is a controlled push cut. One hand holds the handle, providing the force, while the other hand grips the blade, guiding the cut. This is used for fine-tuning joints and slicing off thin shavings.
- Chopping: This is used for removing waste wood, like in a mortise or the middle of a dovetail joint. The chisel is held vertically and struck firmly with a mallet.
How to Choose the Right Chisel Set for You
Okay, you’ve absorbed all the theory. Now, how do you apply it to choose a set from the list in front of you?
What Sizes Do I Really Need?
Most woodworking can be done with a fairly small set of chisels. A standard set of four or six is a perfect starting point. If you had to pick the most useful sizes, they would be:
- 6mm (1/4 inch): For small, detailed work and cleaning out tight corners.
- 12mm (1/2 inch): A brilliant general-purpose size.
- 19mm (3/4 inch): Great for medium-sized joinery.
- 25mm (1 inch): Ideal for clearing larger areas of waste.
A set that contains these four sizes (or similar) will cover you for almost everything when you're starting out.
Assessing the 'Feel' and Finish
Look at the details. Are the handles comfortable and well-finished? Is the steel polished? A high level of fit and finish is usually a good indicator of the overall quality and care that went into making the tool. The back of the blade should be ground flat, which is critical for sharpening. Cheaper chisels often have a slightly concave or convex back, which takes a lot of work to flatten before you can even begin sharpening.
Reading Between the Lines of a Review
When looking at reviews, ignore comments like "they're really sharp out of the box." As we've discussed, that doesn't mean much. Look for comments about edge retention ("they seem to hold their edge for ages") and ease of sharpening ("they were quite easy to bring back to a razor edge"). These are the comments that speak to the quality of the steel.
A Lifetime of Service: Caring for Your Chisels
A good set of chisels bought with a £500 budget shouldn't be a temporary purchase. With a little care, they should last you a lifetime and could even be passed down to the next generation.
- Prevent Rust: After use, wipe the steel blades down with a clean, dry cloth. Put a few drops of light machine oil or camellia oil on the cloth and give the blades a final wipe. This leaves a micro-thin layer of oil that will keep rust at bay.
- Protect the Edges: Don’t just throw your chisels in a drawer where they can knock against each other. This will chip the delicate cutting edges. Keep them in the box or wallet they came in, or invest in a proper chisel roll.
- Sharpen Little and Often: Don't wait until your chisel is completely dull. A few strokes on a fine-grit stone at the end of a session is often all that’s needed to maintain a perfect edge.
Conclusion: Your First Step into a Wider World of Craft
Choosing a chisel set is more than just a purchase; it's an investment in your craft. Within the £500 price range, you move away from disposable tools and into the realm of fine instruments that, with care, will reward you with clean cuts, perfect joints, and a deep sense of satisfaction for many years.
By understanding the difference between steel types, handle designs, and the absolute necessity of sharpening, you are now equipped to look past the marketing and judge a tool on its true merits. You're ready to choose a set that doesn't just cut wood, but one that feels like an extension of your own hands. Happy woodworking.
Further Reading: For those wishing to delve deeper into the world of woodworking and hand tools, we highly recommend these respected resources:
- Paul Sellers' Website & Blog: A treasure trove of knowledge from a master British woodworker, focusing on traditional hand tool techniques.
- Fine Woodworking Magazine: An American publication, but widely considered the global authority on the craft, with invaluable tool reviews and project guides.
- The UKworkshop Forum: A vibrant online community of British woodworkers, perfect for asking questions and sharing experiences.
- Axminster Tools - Skill Centre: The popular UK tool retailer has an excellent online learning section with guides on tool use and maintenance.
- Lost Art Press: A publisher dedicated to preserving and teaching historic woodworking skills, their books are essential reading for any serious enthusiast.