Cultivate Your Own: The Guide to a Perfect British Sourdough Starter
Ready to bake amazing bread? Our complete guide shows you how to make a sourdough starter at home with UK flours. Includes a step-by-step recipe and troubleshooting tips.
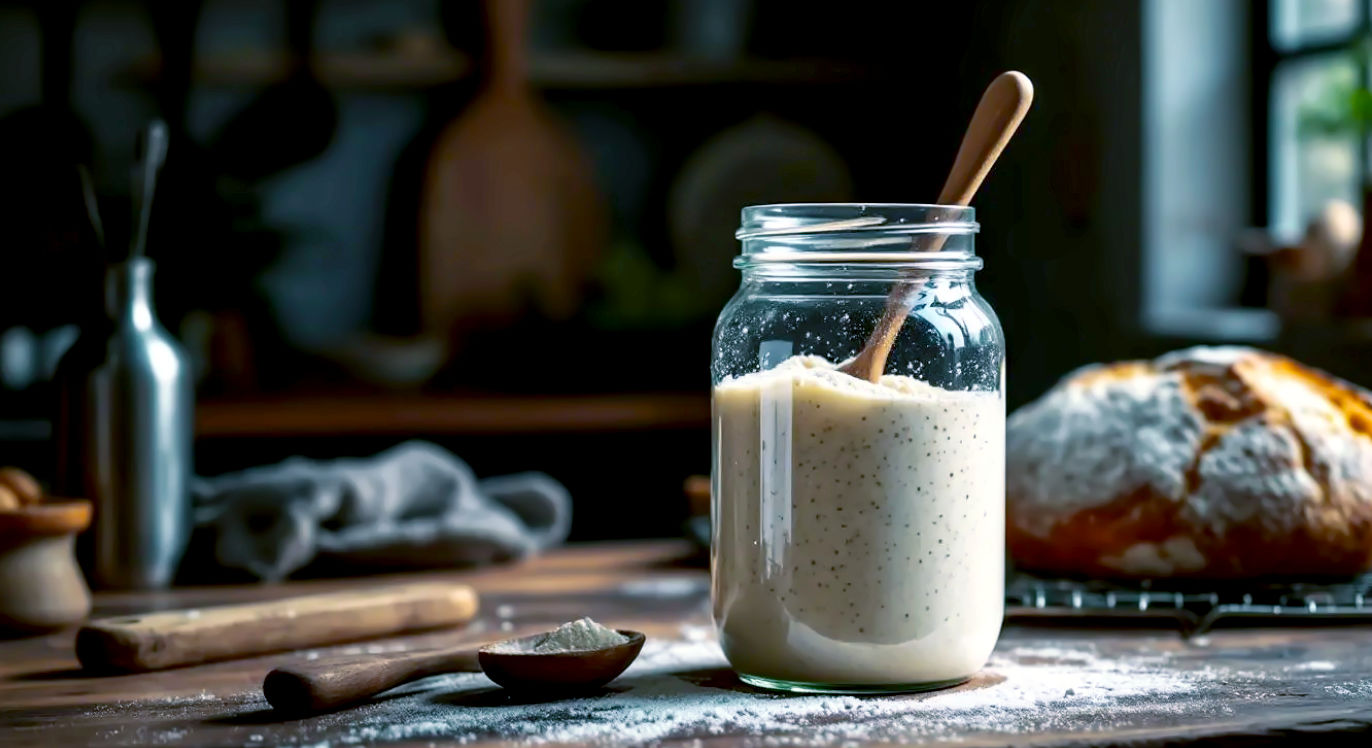
This post may contain affiliate links. If you make a purchase through these links, we may earn a commission at no additional cost to you.
There’s a quiet magic in sourdough. It’s the alchemy of turning two simple ingredients—flour and water—into a living, breathing thing that can transform a humble dough into the best loaf of bread you’ve ever tasted. It’s a craft, a science, and a strangely rewarding hobby all rolled into one. Here in the UK, we’ve fallen back in love with the simple pleasure of baking, and nothing is more satisfying than slicing into a crusty, tangy loaf you’ve nurtured from scratch.
Forget the idea that sourdough is impossibly difficult or reserved for artisan bakers in trendy London bakeries. It’s not. It’s for everyone. It just requires a little patience, a dash of understanding, and a good guide to hold your hand.
That’s what this is. This is your definitive, no-nonsense guide to creating, nurturing, and understanding your very own sourdough starter. We’ll walk you through every bubble, every feeding, and every potential hiccup. So, grab a jar and some flour. Let’s create something amazing together.
What on Earth Is a Sourdough Starter, Anyway?
Before we dive in, let’s get our heads around what a starter actually is. Think of it as a pet, but one that lives in a jar and eats flour.
In the simplest terms, a sourdough starter is a stable, living culture of wild yeasts and friendly bacteria. These microscopic critters are floating all around us—in the air, on our hands, and, most importantly, in the flour itself. When you mix flour and water, you’re creating the perfect little home for them to move in and thrive.
- Wild Yeasts: These are the little powerhouses that make your bread rise. Unlike the commercial yeast you buy in packets, which is a single, potent strain, wild yeasts are a diverse community. They gobble up the sugars in the flour and burp out carbon dioxide gas. Those gas bubbles get trapped in your dough, creating that beautiful, airy crumb we all love.
- Lactic Acid Bacteria (LAB): These are the flavour makers. As they feast on the flour, they produce acids—mostly lactic and acetic acid. These acids are what give sourdough its signature tangy flavour. They also act as a natural preservative, which is why real sourdough bread stays fresh for longer than your average supermarket loaf.
So, when you create a starter, you’re not inventing anything. You’re simply cultivating the wild yeasts and bacteria that are already present in the flour, giving them a cosy, stable environment to grow into a powerful community. It’s a beautiful, natural process of fermentation.
Why Bother? The Sourdough Difference
You might be thinking, “This sounds like a bit of a faff. Can’t I just use a packet of yeast?” You could, but you’d be missing out on what makes sourdough so special.
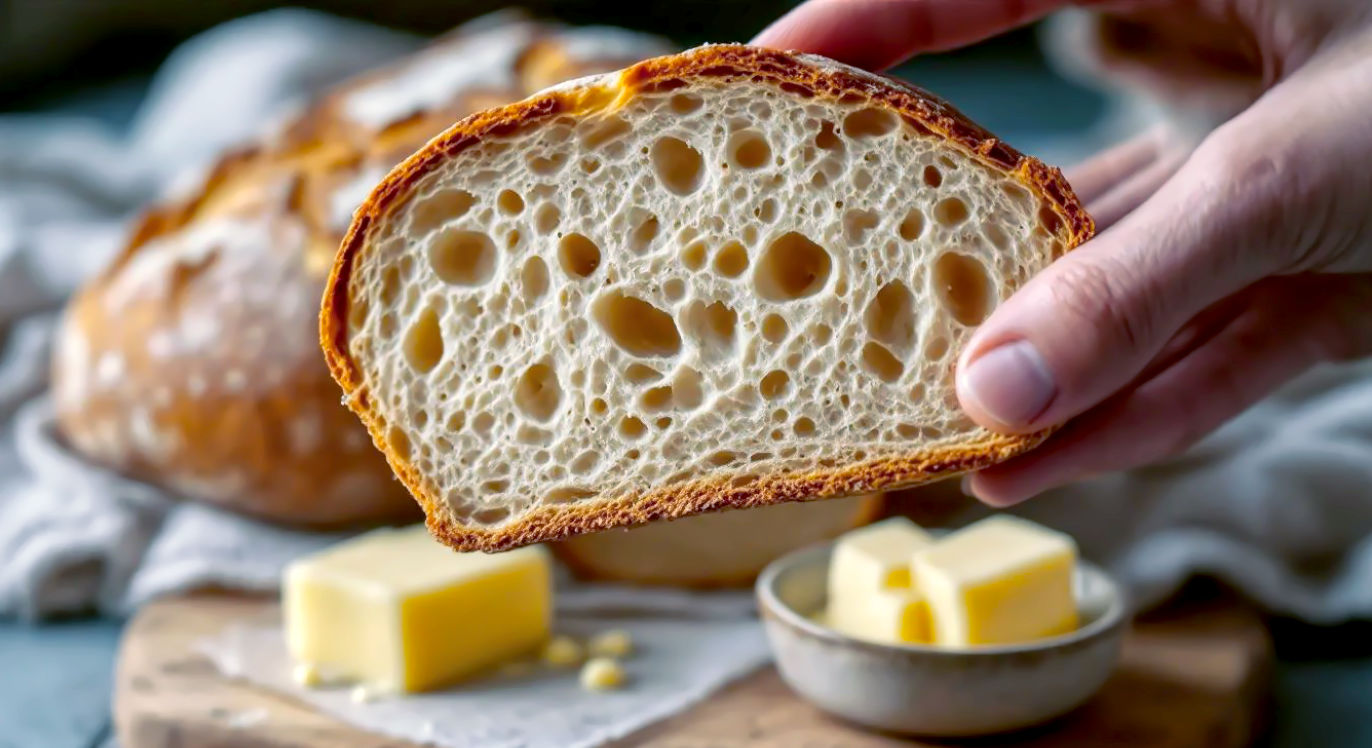
- Unbeatable Flavour: The slow fermentation process develops complex, deep, and wonderfully tangy flavours that you just can’t replicate with commercial yeast. The taste of your loaf will be unique to your starter, your flour, and your home.
- Chewier, Crustier Texture: Sourdough bread has a satisfyingly chewy crumb and a thick, crackling crust that is utterly addictive. The acids produced by the bacteria also strengthen the gluten in the dough, contributing to that wonderful texture.
- It’s Better for You: For some people, sourdough is easier to digest. The long, slow fermentation process starts to break down some of the gluten and other compounds in the flour, effectively pre-digesting it for you. This can make it a better option for those with mild gluten sensitivities (though it’s not suitable for coeliacs).
- The Ultimate Satisfaction: There is a profound sense of pride that comes from baking a truly great loaf of bread using a starter you created and nurtured yourself. It’s a connection to a baking tradition that’s thousands of years old.
Gather Your Arsenal: What You’ll Need
The good news is you don’t need a load of fancy equipment. You probably have most of this stuff in your kitchen already.
The Essentials
- A Glass Jar: This will be your starter’s home. A 0.75-litre to 1-litre glass jar is ideal. A classic Kilner jar is perfect, but any wide-mouthed glass jar will do. Glass is great because it’s easy to clean and allows you to see all the bubbly action. Just rest the lid on top or remove the rubber seal; you don’t want to seal it tight, as the gases need to escape.
- Digital Kitchen Scales: This is the one non-negotiable piece of kit. Sourdough is all about precision and ratios. Baking with cups is a recipe for disaster, as the volume of flour can vary wildly. A simple, affordable set of digital scales that can measure in grams is essential.
- Flour: The food for your starter. We’ll talk more about this in a moment, but you’ll want some good quality strong white bread flour and some wholemeal or rye flour.
- Water: Straight from the tap is usually fine in most parts of the UK. If you live in an area with very heavily chlorinated water, you can either leave a jug of water out on the side for a few hours for the chlorine to evaporate or use filtered water. But for most of us, tap water is perfect.
- A Spatula or Spoon: Something to stir with. A small silicone spatula is great for scraping down the sides of the jar.
Choosing Your Flour (A Very British Guide)
Flour is the most important ingredient, and the quality and type you use will make a big difference. You don’t need to break the bank, but using a decent bread flour will give you the best results. Look for bags labelled “strong” or “bread flour,” which have a higher protein content needed to develop strong gluten.
- For Getting Started: A blend of strong white bread flour and a whole-grain flour (like wholemeal or rye) is the best way to kickstart your starter. Whole-grain flours contain more of the bran and germ of the wheat grain, which is where most of the wild yeasts and bacteria hang out. They are packed with nutrients that give your new starter a powerful boost.
- Recommended UK Brands: You can find excellent flour in most supermarkets. Brands like Doves Farm (their Organic Strong White Bread Flour and Wholemeal Rye are fantastic), Shipton Mill, or even supermarket own-brand strong bread flours will work brilliantly.
- Rye Flour: Dark rye flour is like rocket fuel for a starter. It ferments very quickly and is packed with the microbes you want to encourage. It’s a brilliant choice for getting your starter going.
The 7-Day Journey: Creating Your Starter from Scratch
Right, let’s do this. Here is your day-by-day plan. Find a reasonably warm spot in your kitchen—an ambient temperature of around 21-24°C (70-75°F) is ideal. If your kitchen is a bit chilly, don’t worry; it might just take a day or two longer.
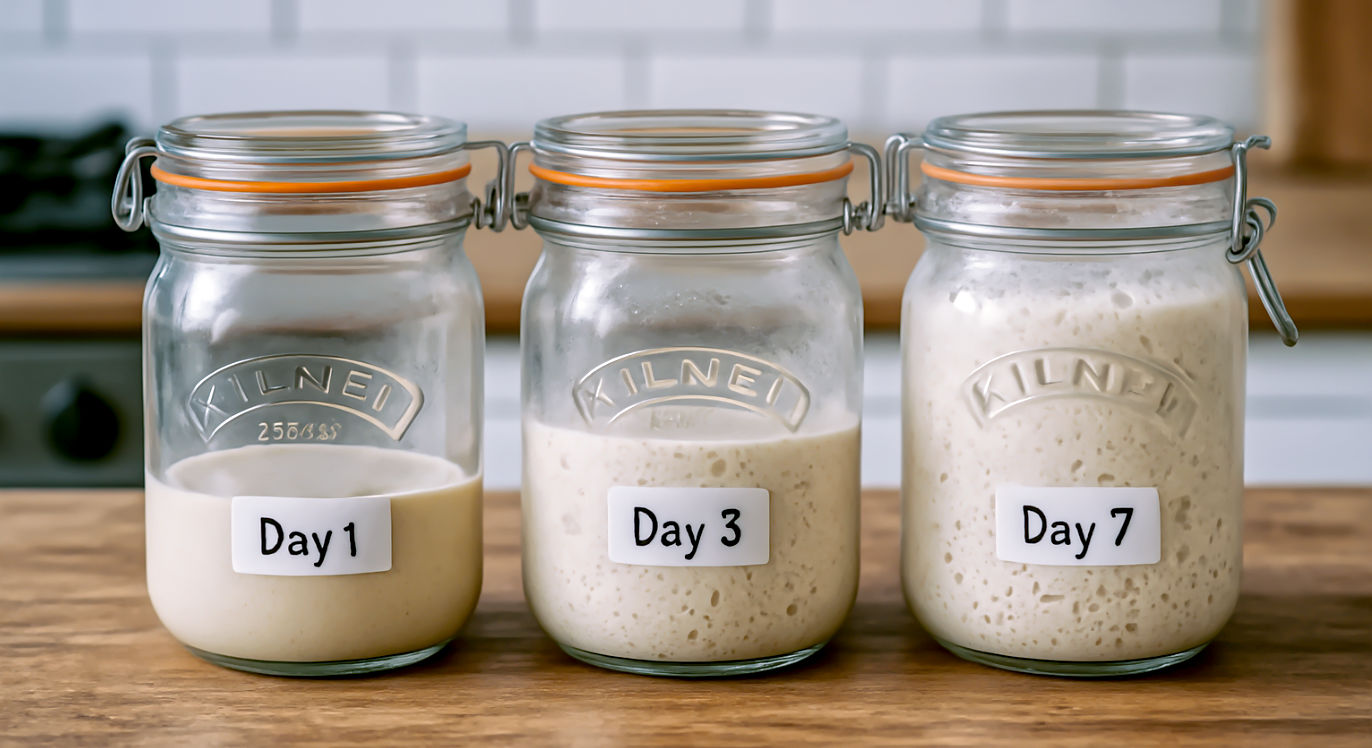
A Quick Note on Ratios: We measure ingredients in grams. When we talk about a “feeding,” we often use ratios. For example, a 1:1:1 ratio means equal parts starter, water, and flour. For now, just follow the daily measurements.
Day 1: The First Mix
This is it, the moment of creation.
- In your clean glass jar, add:
- 50g wholemeal or rye flour
- 50g strong white bread flour
- 100g lukewarm water (about 26°C is nice, but don’t stress over it)
- Mix everything together thoroughly with your spatula until there are no dry bits of flour left. The consistency should be like a very thick, lump-free paste. Scrape down the sides of the jar.
- Rest the lid on top of the jar (don’t seal it!) and leave it in its warm spot for 24 hours.
That’s it for Day 1. Pop a sticky note on it and call it “Day 1.” You could even give it a name. Go on, you know you want to.
Day 2: The First Feed
After 24 hours, you might not see much happening, and that’s completely normal. You might see a few tiny bubbles, or you might see nothing at all. The mixture might have a slightly earthy smell.
Today, we give it its first feed. We need to discard some of the mixture first. This might feel wasteful, but it’s crucial. Discarding ensures the yeast and bacteria have enough fresh food to eat without the population becoming unmanageably large and sluggish.
- Discard most of the starter, leaving about 100g in the jar. Don’t worry about being exact here; just eyeball it. For now, you can just chuck the discard in the bin or compost.
- To the remaining starter, add:
- 50g strong white bread flour
- 50g wholemeal or rye flour
- 100g lukewarm water
- Mix well, scrape down the sides, put the lid back on, and leave it for another 24 hours.
Day 3: The Lag Phase (Don’t Panic!)
Today, things might seem a bit… quiet. It’s common for activity to die down around Day 3. You might see a few bubbles, and it might start to smell a bit sour or musty. This is the “lag phase,” where the initial bacteria (some of which we don’t want) are dying off, making way for the hardy yeasts and the good lactic acid bacteria to take over.
Trust the process. Just keep going.
- Discard most of the starter, leaving roughly 100g behind.
- Feed it with:
- 100g strong white bread flour (we’re moving away from wholemeal now to encourage a lighter flavour)
- 100g lukewarm water
- Mix, scrape, cover, and wait for another 24 hours.
Day 4: Signs of Life!
Today is often when the magic starts to happen! You should see more bubbles, and the starter should have expanded a little. It will also be developing a more distinct aroma—it might smell fruity, vinegary, or pleasantly sour. This is a great sign that the right microbes are starting to take charge.
- Discard all but 100g of the starter.
- Feed with:
- 100g strong white bread flour
- 100g lukewarm water
- Mix, scrape, cover, and wait. You might want to pop an elastic band around the jar to mark the starter’s level so you can clearly see how much it grows.
Day 5, 6, and 7: Getting Strong and Predictable
For the next few days, we’re going to repeat the same process to build strength and predictability. Your starter should be getting more active each day, rising and falling in a reliable rhythm. After a feeding, it should double or even triple in volume within 4-8 hours before falling back down again. The smell should be pleasantly tangy, a bit like yoghurt or beer.
From now on, try to feed your starter when it’s at its “peak”—when it has risen as high as it’s going to go and is full of bubbles, but before it starts to collapse. If you miss the peak, don’t worry, just feed it anyway. For simplicity, we’ll stick to a 12-hour feeding schedule from Day 5.
- On the morning of Day 5:
- Discard all but 50g of starter.
- Feed with 100g strong white bread flour and 100g lukewarm water. Mix well.
- On the evening of Day 5 (approx. 12 hours later):
- Repeat the process: discard all but 50g and feed with 100g flour and 100g water.
Continue this 12-hourly feeding routine for Day 6 and Day 7. This regular feeding schedule will strengthen the yeast and establish a healthy, active culture.
By the end of Day 7, your starter should be vigorous, predictable, and ready for action. It should double in volume within 4-6 hours of being fed and be full of bubbles, with a pleasant, yeasty, and tangy aroma.
Is It Ready? The Float Test
A simple way to check if your starter is mature and ready to bake with is the float test.
- Take a small spoonful of your active, bubbly starter (when it’s at its peak).
- Gently drop it into a glass of water.
- If it floats, it’s ready! The trapped CO2 gas that makes it float is a sign that it’s powerful enough to make your bread rise.
- If it sinks, it’s not quite there yet. It probably just needs a few more regular feedings to build up its strength.
Keeping Your Starter Alive and Kicking
Congratulations, you’re now the proud parent of a sourdough starter! Now you need to keep it alive. You have two main options for maintenance, depending on how often you plan to bake.
Option 1: The Countertop (For Frequent Bakers)
If you bake several times a week, you can keep your starter on the kitchen counter at room temperature.
- You’ll need to feed it every 12-24 hours.
- The process is the same: Discard a portion, then feed the remainder with fresh flour and water. A typical maintenance feed would be to keep 25g of starter and feed it with 50g of flour and 50g of water. This gives you enough active starter to bake with, plus a little left over for the next feed.
Option 2: The Fridge (For Once-a-Week Bakers)
If you only bake once a week or less, the fridge is your best friend. Chilling the starter slows down fermentation right down, so you don’t have to feed it as often.
- Give your starter a good feed. Let it sit at room temperature for an hour or two to get going.
- Pop it in the fridge. It will happily snooze in there for a week, or even two.
- To use it: Take it out of the fridge the day before you want to bake. It will look sleepy and may have a layer of dark liquid on top (see troubleshooting below). Give it a good stir.
- Give it at least two feeds at room temperature, about 8-12 hours apart, to get it fully awake, active, and ready to bake. For example, if you want to bake on Saturday morning, take it out on Friday morning, feed it, and then feed it again on Friday evening.
What is ‘Sourdough Discard’?
Every time you feed your starter, you remove a portion first. This is the “discard.” But please, don’t just throw it away! Sourdough discard is a phenomenal ingredient in its own right. While it might not have the power to raise a loaf of bread, it’s packed with incredible flavour.
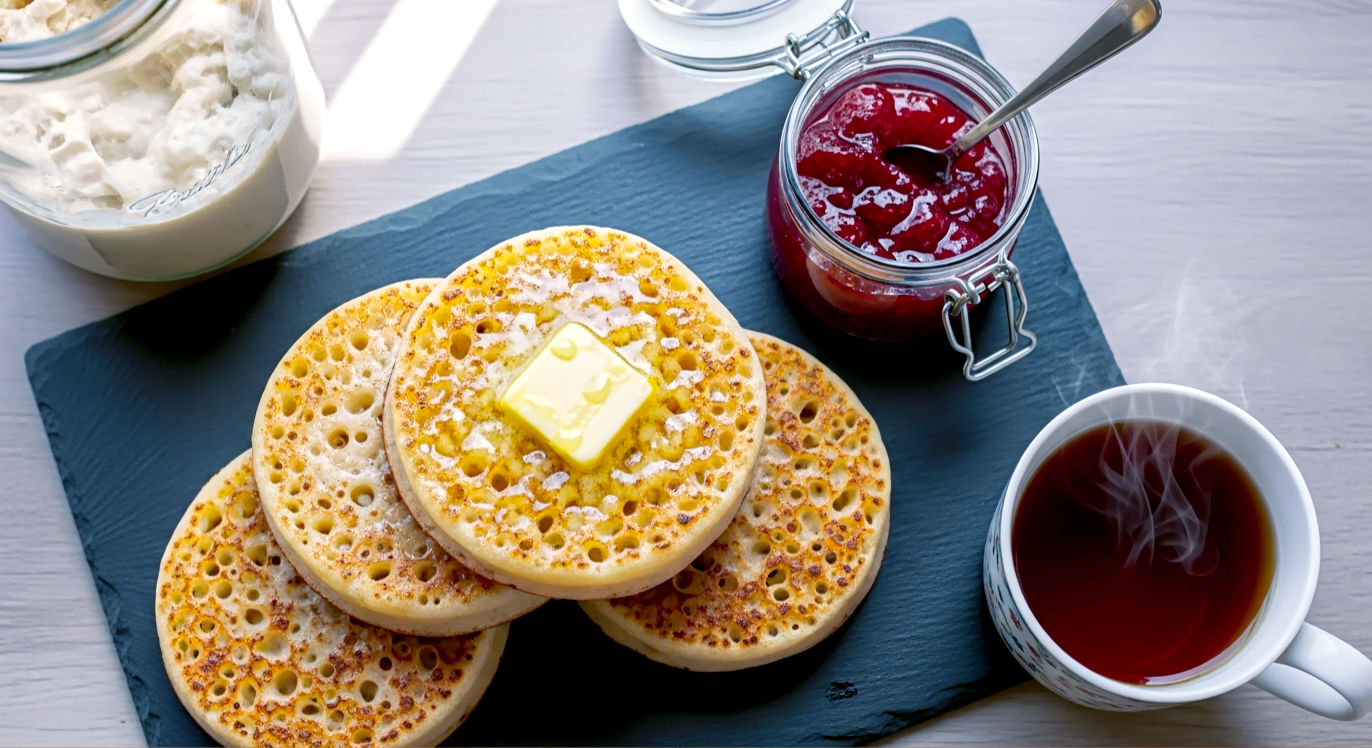
You can collect your discard in a separate jar in the fridge for a week or two and use it to make all sorts of delicious things. Think of it as a sour, bubbly batter.
Brilliant British Sourdough Discard Recipes:
- Crumpets: Sourdough discard makes the best crumpets you will ever eat, full of tangy flavour and perfect holes for melting butter.
- Pancakes & Waffles: Add a cup of discard to your favourite pancake recipe for a tangy flavour boost and a wonderfully tender texture.
- Crackers: Mix discard with some melted butter, herbs, and salt, spread it thinly on a baking tray, and bake until crisp.
- Yorkshire Puddings: Swap out some of the flour and milk in your Yorkie recipe for discard. The results are epic.
Sourdough First Aid: Troubleshooting Common Problems
Your starter is a living thing, and sometimes it can behave in odd ways. Don’t panic. Most issues are easily fixed.
“My starter isn’t bubbling at all!”
- Is it too cold? Yeast loves warmth. Try moving your starter to a warmer spot. An airing cupboard, near a radiator, or in the oven with just the light on can work wonders.
- Is it just young? A new starter can be sluggish for the first week or so. Be patient and stick to the feeding schedule. Give it a boost with a little rye flour if it seems really slow.
“There’s a dark liquid on top. Is it dead?”
- No! This liquid is called “hooch.” It’s just alcohol given off by the yeast as it gets hungry. It’s a sign that your starter needs a good feed.
- You can either stir it back in for a more sour flavour or pour it off for a milder one. Then, discard and feed as normal. If you’re getting a lot of hooch, you might need to feed your starter more often or with a higher ratio of fresh flour.
“It smells like nail polish remover or strong vinegar!”
- Again, this is a sign of hunger. The smell of acetone (nail polish remover) means the bacteria are producing a lot of acetic acid. It just needs feeding. A regular feeding schedule will balance out the aroma.
“Is this mould?!”
- This is the one to be careful with. If you see any pink, orange, green, or black fuzzy spots, that is mould. Unfortunately, there’s no saving it. You must throw it away, sterilise your jar, and start again. Mould is usually caused by contamination or a starter that has become too weak to fight off bad microbes.
- Sometimes you might see a dry, white, skin-like layer on top. This is usually just yeast, known as “kahm yeast.” It’s harmless but not pleasant. Scrape it off as best you can and give your starter a couple of good feedings.
“I completely forgot to feed it for weeks!”
- Don’t give up on it just yet! Sourdough starters are incredibly resilient.
- Scrape off any dried-out top layer. Take a small spoonful from the very bottom of the jar, where it’s most protected.
- Put this into a clean jar and give it a good feed (e.g., 1 part starter, 2 parts flour, 2 parts water).
- Keep feeding it every 12 hours at room temperature for a couple of days. You’ll be surprised how quickly it can spring back to life.
Your Sourdough Journey Awaits
Creating a sourdough starter is the first step on an incredibly rewarding journey. It will teach you patience, observation, and the simple joy of creating something truly wonderful with your own hands. Your starter will become a part of your kitchen, a bubbling pot of potential that connects you to generations of bakers before you.
There will be triumphs and the occasional hiccup. But stick with it. Because the moment you pull that first perfect, golden, crusty loaf from your oven, you’ll know it was all worth it.
Happy baking.
Further Reading & Resources
For those looking to dive deeper into the world of sourdough, these resources are fantastic and highly respected:
- The Perfect Loaf: An incredibly detailed and scientific blog covering all aspects of sourdough.
- Weekend Bakery: A great resource with clear guides and recipes.
- Shipton Mill: This UK flour miller has a wonderful website with lots of baking advice and recipes tailored to their flours.
- The Sourdough School: For those who want to take their knowledge to the next level, Vanessa Kimbell offers courses and has written several brilliant books.

