From Grainy Film to Digital Brilliance: The Guide to ISO in Photography
Confused by ISO? This comprehensive guide explains everything you need to know about your camera’s sensitivity, from the basics to advanced tips for UK photographers.

This post may contain affiliate links. If you make a purchase through these links, we may earn a commission at no additional cost to you.
Ever taken a photo indoors that came out blurry and dark? Or tried to capture the magic of a dusky evening, only to end up with a noisy, grainy mess? Chances are, the culprit wasn’t your camera, but a tiny setting you might have overlooked: ISO.
Think of ISO as your camera’s superpower. It’s one of the three pillars of photography, alongside aperture and shutter speed. Together, they form the “exposure triangle,” the holy trinity that controls how bright or dark your photos are. But while aperture is about the opening of your lens and shutter speed is about time, ISO is about sensitivity. It’s about how much light your camera needs to make a perfect picture.
For anyone in Britain, understanding ISO is a game-changer. Our famously unpredictable weather, from gloomy winter afternoons in Manchester to the fleeting “golden hour” over the Scottish Highlands, demands a camera that can adapt. Mastering ISO is the key to unlocking that adaptability. It lets you capture the crisp details of a robin in a dimly lit garden, the vibrant energy of a London street at night, or the subtle beauty of a misty morning in the Cotswolds.
This guide is your complete journey into the world of ISO. We’ll start with the basics, explore its fascinating history from the days of chemical-coated film, and give you practical, no-nonsense tips to take your photos from average to amazing. Whether you’re using a top-of-the-line DSLR or just the camera on your smartphone, you’ll learn how to make ISO work for you, not against you. Let’s turn those dark, blurry frustrations into bright, sharp, and stunning photographs you’ll be proud of.
What on Earth is ISO? The Simple Explanation
Before we get bogged down in the technical stuff, let’s start with a simple analogy. Imagine your camera’s sensor is like a bucket, and light is like rain.
- Aperture is how wide the top of the bucket is. A wider opening lets more rain in at once.
- Shutter Speed is how long you leave the bucket out in the rain. The longer you leave it, the more rain it collects.
- ISO is like having a magical button that makes the rain heavier.
When you increase the ISO, you’re not getting more light (rain) into the camera. Instead, you’re amplifying the signal from the light that’s already there. It’s like turning up the volume on a quiet song. The camera’s sensor becomes more sensitive, so it needs less light to create a properly exposed image.
This is incredibly useful. If you’re shooting a birthday party indoors without a flash, you can’t leave the shutter open for ages (people will move and become blurry), and you might not be able to open the aperture any wider. So, what do you do? You turn up the ISO. This makes the sensor more sensitive, allowing it to “see” in the dark and capture the moment with a fast enough shutter speed to freeze the action.
The Trade-Off: Brightness vs. Quality
Of course, there’s no such thing as a free lunch. This amplification process comes at a cost: digital noise.
Think back to turning up the volume on that quiet song. As you crank it up, you start to hear a hiss or static in the background. That’s noise. The same thing happens with your photos. As you increase the ISO, your camera introduces random, grainy speckles of colour and light into the image.
- Low ISO (e.g., 100, 200): Produces a very clean, smooth, high-quality image with the finest details. This is the goal on a bright, sunny day.
- High ISO (e.g., 3200, 6400, or even higher): Allows you to shoot in very dark conditions but introduces noticeable grain or “noise.” The image might look a bit gritty and lose some fine detail and colour accuracy.
This is the fundamental trade-off of ISO: you gain the ability to shoot in the dark by sacrificing a bit of image quality. Modern cameras are incredible at handling noise, and a slightly grainy photo is almost always better than a blurry, unusable one. The skill lies in knowing how high you can push your ISO before the noise becomes too distracting for your liking.
The Exposure Triangle in Action: A British Summer Fete Example
Imagine you’re at a village fete in the Peak District. The sun is shining brightly.
- Your Goal: A sharp, clean photo of the prize-winning Victoria sponge.
- Your Settings: It’s bright, so you can use the lowest possible ISO (e.g., 100) for maximum quality. You can then choose a suitable aperture (for a blurry background) and a fast shutter speed (to avoid camera shake). The result is a crisp, vibrant, noise-free image.
Now, a classic British raincloud rolls in, and everyone dashes into the village hall for the raffle. It’s much darker inside.
- Your Goal: Capture the happy winner holding their prize hamper, without using a jarring flash.
- The Challenge: It’s dark. If you use a slow shutter speed, the winner’s excited wave will be a blurry streak. Your lens is already at its widest aperture.
- Your Solution: You increase the ISO. Bumping it up to 1600 or 3200 makes the sensor much more sensitive. Now, you can use a faster shutter speed to freeze the motion, capturing a sharp, well-lit photo. It might have a little bit of grain if you look closely, but you’ve captured the moment perfectly. That’s the power of ISO.
A Quick History: From Chemical Film to Digital Sensors
The concept of ISO didn’t just appear with digital cameras. It has its roots in the very chemistry of film photography. Understanding this history helps explain why we talk about sensitivity and grain today.
The Dawn of Film Speed Standards
Back in the day, every roll of film had a fixed “film speed.” This was a measure of how quickly the film’s chemical emulsion reacted to light. A “slow” film needed a lot of light and produced very fine, detailed images. A “fast” film was much more sensitive, great for low light, but produced a visibly grainy texture.
The problem was, different manufacturers used different systems to measure this speed. It was a bit of a mess. Imagine trying to buy petrol if every station used its own unit of measurement! To fix this, various standards organisations stepped in. You might see old photography books mention ASA (from the American Standards Association) or DIN (from the German standards body).
Finally, in the 1970s, the International Organization for Standardization brought these systems together to create the universal ISO standard we use today. The number you see on your digital camera—ISO 100, ISO 400, etc.—is a direct descendant of the ASA system. So, an ISO 400 setting on your digital camera is designed to give you the same exposure as ASA 400 film would have under the same light conditions.
What is “Grain”? Film vs. Digital Noise
In film photography, the graininess of a high-speed film was caused by the actual physical particles of silver halide in the emulsion. Larger clumps of these crystals made the film more sensitive to light but also created that classic, gritty texture. Photographers often embraced this. The grain of a black-and-white photo taken on a fast film like Ilford HP5 became a beloved aesthetic, adding mood and character.
In digital photography, what we call “noise” is different. It’s not physical; it’s electronic. It’s the digital sensor’s equivalent of static. It comes in two main flavours:
- Luminance Noise: This looks a lot like film grain. It’s a pattern of light and dark speckles that affects the brightness of pixels but not their colour. It’s generally less offensive to the eye and can sometimes even add a pleasing texture to an image, especially in black and white.
- Chroma (or Colour) Noise: This is the ugly sibling. It appears as random, blotchy patches of colour, usually purple and green, in places they shouldn’t be. This is the type of noise that most photographers want to get rid of, as it makes images look messy and unnatural.
Modern cameras have incredibly powerful processors that are fantastic at reducing chroma noise even at very high ISOs. Software like Adobe Lightroom and DxO PureRAW can also work wonders in cleaning up noisy images after you’ve taken them.
Understanding the ISO Scale: What Do the Numbers Mean?
The ISO scale is beautifully simple. It’s a linear scale where doubling the number doubles the sensitivity.
- ISO 100 is your baseline. It provides the best quality with the least noise.
- ISO 200 is twice as sensitive as ISO 100.
- ISO 400 is twice as sensitive as ISO 200 (and four times as sensitive as ISO 100).
- ISO 800 is twice as sensitive as ISO 400.
- And so on… ISO 1600, 3200, 6400, 12800…
This doubling relationship is known as a “stop” of light. Increasing your ISO from 100 to 200 is one stop. Going from 200 to 400 is another stop.
Why is this useful? Because it allows you to balance your exposure triangle perfectly. If you need to make your shutter speed twice as fast (letting in half as much light), you can compensate by doubling your ISO (making the sensor twice as sensitive).
Example: Your current settings are: ISO 200 | f/4 | 1/60s. The photo is correctly exposed, but your subject is moving and you’re getting motion blur. You need a faster shutter speed.
You change your shutter speed to 1/120s. This is one stop faster, meaning it lets in half the light. Your photo is now too dark. To fix it, you need to add one stop of light back in. You can do this by increasing your ISO by one stop, from ISO 200 to ISO 400.
Your new settings are: ISO 400 | f/4 | 1/120s. The photo now has the exact same brightness as the original, but you’ve successfully frozen the motion. You’ve traded one stop of light from the shutter for one stop of sensitivity from the ISO.
Base ISO and Native ISO: Your Camera’s Sweet Spot
Every camera has a base ISO, which is the lowest setting on the standard scale (usually ISO 100 or 200). This is the setting where the sensor produces its highest quality image with the widest dynamic range (the ability to capture detail in both the very bright and very dark parts of a scene) and the least amount of noise. Whenever possible, you should try to shoot at your camera’s base ISO.
You might also see settings like “L” or ISO 50. These are “extended” low ISOs. They don’t actually make the sensor less sensitive. Instead, the camera takes a photo at the base ISO and then digitally darkens it. This can sometimes reduce the dynamic range, so it’s generally best to stick to the standard numbers unless you have a specific reason not to (like needing a slower shutter speed for long-exposure water shots in bright daylight).
Similarly, you’ll see “H” settings at the top end (e.g., ISO 51200, 102400). These are also digitally amplified and will produce a significant amount of noise. They’re there for emergencies when getting any shot is more important than getting a clean one.
Practical Guide: When to Change Your ISO
Okay, that’s the theory. But when should you actually reach for that ISO dial? Here’s a simple, practical guide for common situations you’ll encounter across the UK.
Use a Low ISO (100–400) When…
You have plenty of light. This is the golden rule. If it’s bright, keep your ISO low.
- Landscape Photography: On a sunny day in the Brecon Beacons or on the Cornish coast. You’ll likely be using a tripod anyway, so you can use a slow shutter speed if needed and keep the ISO at its base for maximum detail and colour.
- Studio Photography: When using flashes or strobes, you are in complete control of the light. You can set your ISO to 100 and forget about it.
- Outdoor Portraits: Capturing family photos in the park on a bright afternoon. Low ISO will give you beautiful skin tones and fine detail.
- Architectural Photography: Shooting historic buildings in York or the modern towers of London. A tripod and low ISO are your best friends for sharp, clean lines.
Use a Mid-Range ISO (400–1600) When…
The light is getting a bit tricky, or you need more flexibility. This is a versatile range that modern cameras handle brilliantly.
- Overcast British Days: This is the default weather for much of the year! ISO 400 is often a great starting point for general walk-around photography on a cloudy day, giving you enough flexibility for a fast shutter speed.
- Indoor Events with Good Lighting: A well-lit museum, gallery, or church. You might not be able to use a tripod, so a moderate ISO helps you maintain a hand-holdable shutter speed.
- Shade or Forest Photography: Walking through a woodland in the New Forest. The tree canopy cuts out a lot of light. Bumping the ISO up helps capture the scene without blur.
- Action in Good Light: Photographing your kids or dog running around the garden. A slightly higher ISO lets you use a faster shutter speed (like 1/500s or more) to freeze them in their tracks.
Use a High ISO (1600–6400 and beyond) When…
You’re fighting the darkness and a blurry photo is not an option. Don’t be afraid to push the ISO. A noisy photo is better than no photo.
- Indoor Sports: Your child’s school play in a dimly lit hall or an indoor swimming competition. You need a very fast shutter speed to stop the action, so a high ISO is essential.
- Live Music and Gigs: Most music venues are dark. Flashes are often banned and ruin the atmosphere anyway. Pushing your ISO to 3200, 6400, or even higher is the only way to capture the energy of the band.
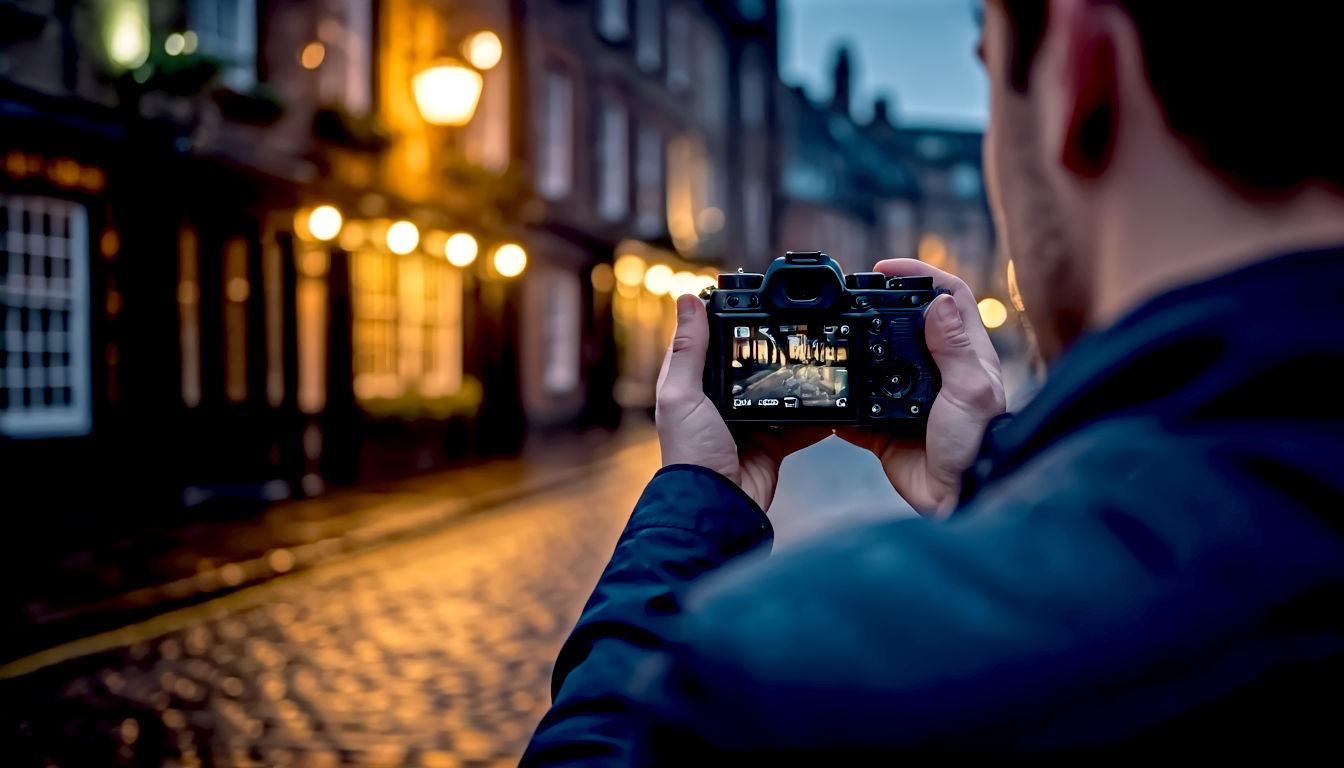
- Night Street Photography: Capturing the neon lights of Soho or the quiet cobbled streets of Edinburgh after dark. High ISO allows you to shoot handheld and capture the ambient light.
- Astrophotography: Shooting the Milky Way from a dark sky spot like Galloway Forest Park. This requires a combination of a wide aperture, a long shutter speed, AND a high ISO to capture the faint light of the stars.
- Wildlife at Dawn or Dusk: Trying to photograph a badger or an owl. These creatures are most active when the light is low. High ISO is crucial for getting a fast enough shutter speed to get a sharp shot of a moving animal.
Auto ISO: Your Clever Assistant
For a long time, serious photographers sneered at “Auto” settings. But Auto ISO is different. It’s an incredibly powerful tool, especially for situations where the light changes quickly.
Here’s how it works: You set the aperture and shutter speed you want, and you tell the camera to automatically adjust the ISO to get the right exposure. The real magic is that you can set limits.
For example, you can tell your camera:
- “Keep my shutter speed at 1/250s or faster.”
- “Keep my aperture at f/2.8.”
- “You can adjust the ISO as needed, but don’t go higher than 6400.”
This is brilliant for event photography or street photography. You can walk from a bright street into a dark alleyway, and the camera will instantly adjust the ISO for you, letting you concentrate on framing the perfect shot. You get to control the creative elements (depth of field via aperture and motion via shutter speed), while the camera handles the technical job of maintaining the exposure. Give it a try; it might just change the way you shoot.
The Impact of ISO on Your Photographs
We’ve talked about noise, but ISO affects more than just grain. Pushing your ISO high can have a few other subtle effects on your images.
- Dynamic Range: As you increase the ISO, the dynamic range of your sensor decreases. This means the camera will struggle more to capture details in the brightest highlights and the darkest shadows simultaneously. You might find that the sky “blows out” to pure white more easily, or the shadows become “crushed” into pure black, losing all detail.
- Colour Accuracy: At very high ISOs, colours can start to look a bit washed out or shift in hue. You might lose some of the subtle tonal variations in a scene. Modern sensors are very good at controlling this, but it’s something to be aware of.
- Loss of Detail: The noise itself, and the camera’s internal noise reduction, can obscure very fine details. The texture of a fabric or the fine feathers of a bird might look a bit softer or mushier at ISO 12800 compared to ISO 100.
This is why the advice is always to use the lowest ISO you can get away with for the shot you want to take. It’s not about never using high ISO; it’s about using it consciously and for a specific purpose.
ISO in the Modern World: Smartphones and the Future
What about the camera that’s in your pocket right now? Your smartphone also uses ISO, but it handles it in a very different way.
Computational Photography: The Magic of Smartphones
Smartphone camera sensors are tiny. A tiny sensor means tiny pixels, which are naturally not very good at collecting light. In the past, this meant phone photos in low light were dreadful.
Today, however, phones use something called computational photography. When you take a photo in the dark, your phone doesn’t just take one picture. It rapidly captures a whole burst of images at different settings, including high ISOs. Then, its powerful processor instantly analyses and merges them.
- It can take the sharp details from one frame.
- It can take the colour information from another.
- It uses clever algorithms to identify and remove noise far more effectively than a traditional camera could.
- It stacks images to simulate a longer exposure without the blur.
This is why a modern iPhone or Google Pixel can produce astonishingly bright and clean photos at night. It’s not that its tiny sensor is magically better; it’s that the software is doing an incredible amount of heavy lifting behind the scenes. It’s essentially an automated version of what professional photographers do manually.
The Future: Dual Native ISO and Beyond
The technology inside dedicated cameras is constantly evolving too. One of the most exciting recent developments is Dual Native ISO.
Found in many modern cinema and hybrid cameras, this technology gives the sensor two “base” ISOs—one low (e.g., ISO 400) and one high (e.g., ISO 3200). Each setting uses a different circuit on the sensor that is optimised for that level of sensitivity.
When you switch from, say, ISO 1600 to ISO 3200, the camera flicks over to the high-sensitivity circuit. The result is that the image at ISO 3200 can be almost as clean and have as much dynamic range as the one at ISO 400. It’s like having two cameras in one: one for bright light and one for dark. This is a huge leap forward for videographers and low-light photographers, as it dramatically reduces the penalty for shooting at high ISOs.
As sensor technology continues to improve, the “problem” of high ISO noise will become less and less of a concern. Cameras will become even more capable of seeing in the dark, opening up new creative possibilities for everyone.
Conclusion: Making ISO Your Creative Partner
ISO isn’t just a technical setting you have to worry about; it’s a powerful creative tool. It’s the key that unlocks your camera’s ability to capture the world as you see it, no matter the lighting conditions.
In Britain, where the light is rarely simple, mastering ISO is liberating. It frees you from the tyranny of the tripod. It lets you capture the fleeting moments that matter—the laughter in a dimly lit pub, the drama of a stormy seascape at dusk, the quiet magic of a city street slick with rain.
So, don’t be afraid of that ISO button. Experiment with it. Push it high and see what your camera can do. Learn its limits, but don’t be constrained by them. Understand that a little bit of grain can add character, and that capturing the emotion of a moment is always more important than technical perfection.
The next time you’re out with your camera and the light starts to fade, remember the exposure triangle. Remember that you have the power to make your camera more sensitive. Dial up the ISO, keep your shutter speed fast, and keep shooting. You might be surprised by the beautiful images you can create.
Further Reading & Resources
For those looking to dive even deeper, these resources are highly respected in the photography community:
- Cambridge in Colour: An outstanding UK-based website with clear, in-depth tutorials on a huge range of technical photography topics, including a great section on ISO.
- DPReview: The go-to source for incredibly detailed camera reviews and technical analysis. Their articles often include extensive tests on high ISO performance for different camera models.
- Photography Life: A fantastic resource with articles written by professional photographers, offering practical advice and deep dives into subjects like ISO and noise reduction.
- The Royal Photographic Society (RPS): The UK’s leading photography organisation. Their website and journal offer a wealth of inspiration and educational content for photographers of all levels.


