Flaky & Flavoursome: Your Guide to Making Authentic Spanakopita at Home
Our ultimate guide to authentic spanakopita. Get the secrets to a flavour-packed filling, perfectly crisp filo pastry, and avoiding a soggy bottom.

This post may contain affiliate links. If you make a purchase through these links, we may earn a commission at no additional cost to you.
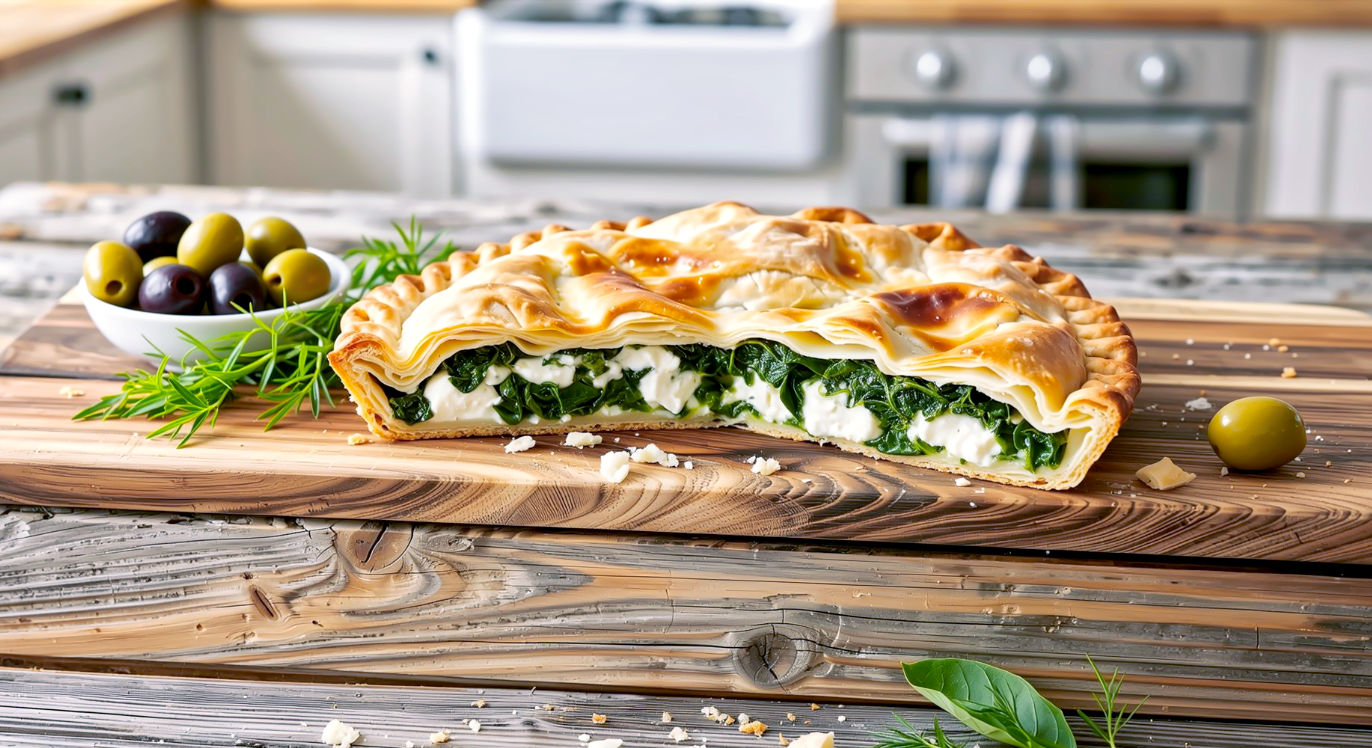
Close your eyes for a moment. Picture a sun-drenched Greek island, the sound of gentle waves in the distance, and a small, family-run taverna with blue-painted chairs. On the table in front of you sits a slice of pie. It’s not just any pie. The pastry is a beautiful golden-brown, so crisp it shatters into a thousand tiny flakes at the touch of a fork. Inside, a vibrant green filling of spinach, tangy feta cheese, and fragrant herbs steams gently. This, right here, is the magic of spanakopita.
For many of us Brits, this taste is a postcard from a holiday, a delicious memory of sunshine and simpler times. But what if I told you that you don’t need a boarding pass to experience that moment again? What if you could bring that authentic, flaky, flavoursome slice of Greece right into your own kitchen?
You can. And I’m going to show you how.
This isn’t just another recipe. This is the ultimate guide. We’ll dive into the story behind this iconic dish, get to grips with its key ingredients, and tackle the one thing that often puts people off: filo pastry. Don’t worry. By the time we’re done, you’ll be handling it like a pro. Forget the sad, soggy spinach pies from the supermarket chiller aisle. We’re on a mission to create the real deal—a spanakopita so good, it’ll transport you straight back to that little Greek taverna. So, pop the kettle on, grab a biscuit, and let’s get started.
What Exactly Is Spanakopita? The Anatomy of a Greek Icon
Before we roll up our sleeves, let’s get properly acquainted. At its heart, spanakopita (pronounced spah-nah-KO-pee-tah) is a savoury Greek pie made with a filling of chopped spinach and feta cheese, all wrapped up in layers of impossibly thin filo pastry. The name itself tells you the story: in Greek, spanáki means spinach, and píta means pie. Simple, right?
But that simple description doesn’t quite do it justice. A truly great spanakopita is a masterclass in texture and flavour. It’s a wonderful contrast between the crisp, crackly, buttery layers of filo and the soft, savoury, slightly tangy filling tucked inside. It’s a dish that can be a humble lunch, a party showstopper, or a comforting weeknight supper.
You’ll find it in two main forms:
- A large pie: Made in a big baking dish and cut into squares. This is perfect for a family meal and is technically the true spanakopita.
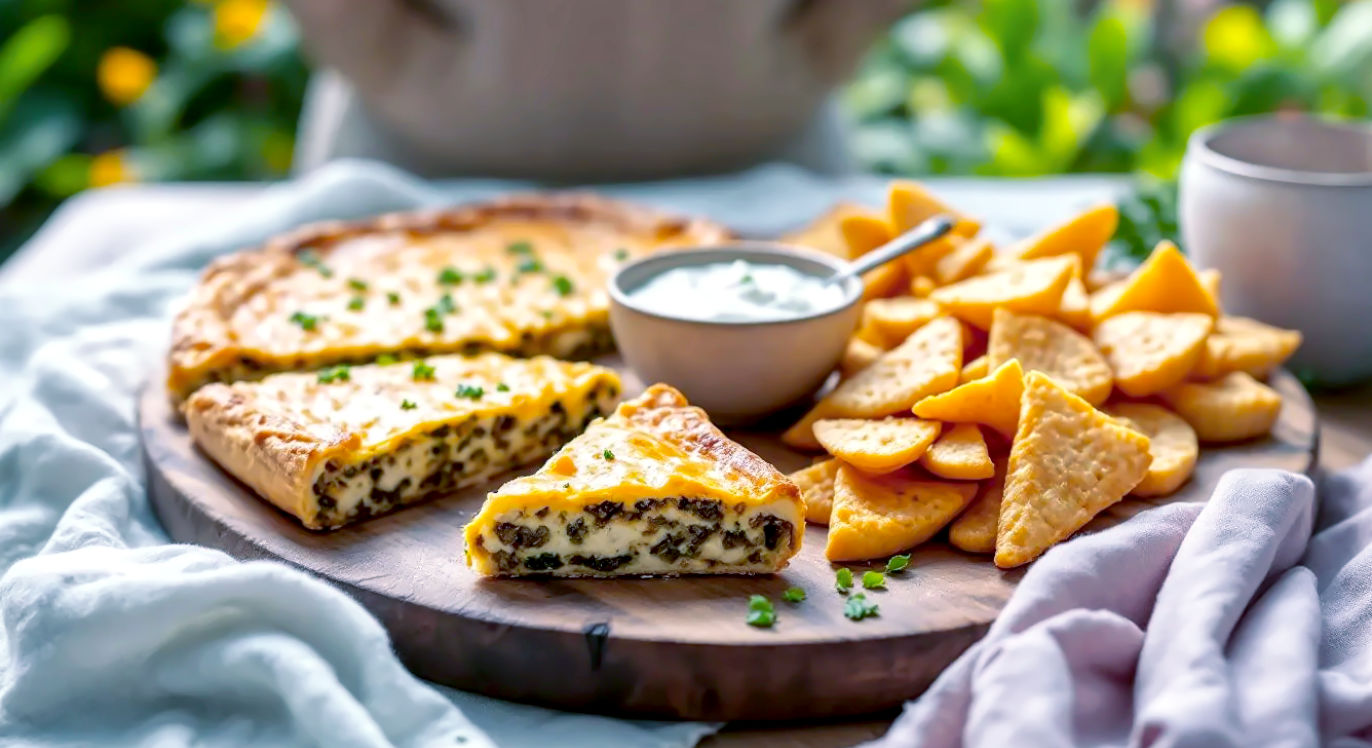
- Triangles: Individual, hand-held parcels called spanakopitakia (the “-akia” means “little ones”). These are brilliant for picnics, lunchboxes, and party snacks.
While spinach and feta are the headline acts, they’re supported by a brilliant cast of characters. Onions (or spring onions), fresh herbs like dill and parsley, a hint of nutmeg, and good-quality olive oil all play their part. It’s this combination that creates a flavour far greater than the sum of its parts.
A Pie Through Time: The Surprising History of Spanakopita

This glorious pie didn’t just appear out of nowhere. Its roots stretch deep into the history of the Mediterranean. The ancient Greeks were known for a dish called plakous, a type of flat cake or pie, but the real ancestor of spanakopita is likely a simple peasant dish made with greens stuffed inside a basic dough.
The key innovation—that incredibly thin pastry—came later. The technique for stretching dough into paper-thin sheets is thought to have been developed in the Byzantine Empire and perfected under the Ottoman Turks, who called the dough yufka. When the Ottomans ruled Greece for nearly 400 years, their culinary traditions merged with local ones. The Greeks adopted this delicate pastry, renamed it phyllo (meaning “leaf” in Greek), and used it to encase their favourite local ingredients, like spinach and cheese.
And so, the modern spanakopita was born. It became a staple of Greek home cooking, a dish passed down through generations of yiayias (grandmothers). Each family would have its own little twist—a different herb, a secret cheese blend—but the core principles remained the same.
Its journey to Britain is tied to our own story. As Brits started taking package holidays to Greece in the 1960s and 70s, they came back with a tan and a taste for Mediterranean food. At the same time, Greek Cypriot communities began to flourish in cities like London, opening up brilliant bakeries and delicatessens. Suddenly, this once-exotic spinach pie started appearing on British high streets, and we’ve loved it ever since. It’s now a firm favourite, a go-to vegetarian option that feels both wonderfully wholesome and just a little bit indulgent.
The Dream Team: Choosing Your Ingredients Wisely
A truly spectacular spanakopita is all about the quality of its ingredients. You can’t hide behind fancy sauces or complicated techniques here. Let’s break down what you’ll need and what to look for at the shops.
The Pastry: Taming the Filo Beast
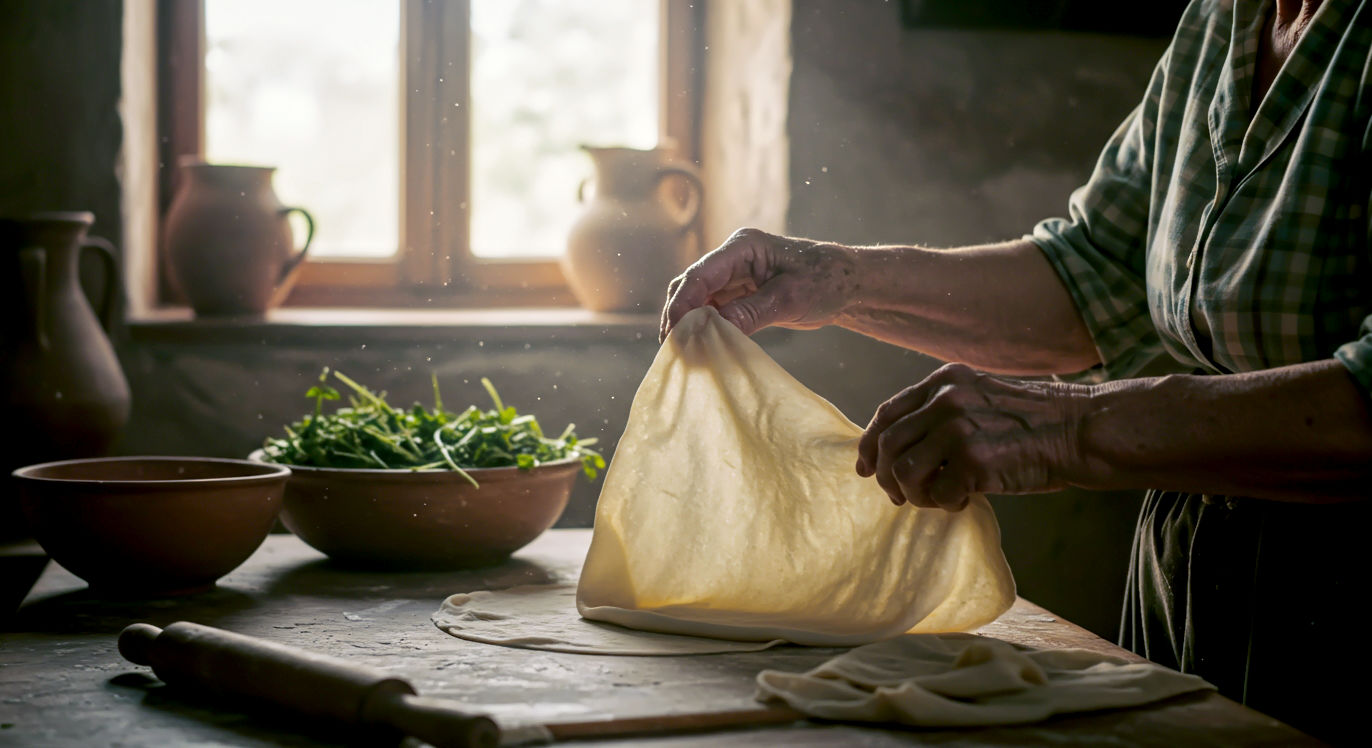
This is the bit that makes most people nervous. Filo pastry has a reputation for being tricky. It’s delicate, it dries out quickly, and it can tear if you so much as look at it the wrong way. But I’m here to tell you that it’s not as scary as you think. It just needs a little respect.
- Fresh vs. Frozen: You can find filo in the chiller cabinets or the freezer section of most big supermarkets.
- Fresh Filo: This is my preference. It’s ready to use straight away and tends to be a bit more pliable. You’ll usually find it near the fresh pasta and puff pastry.
- Frozen Filo: This is absolutely fine, but it needs to be thawed properly. The biggest mistake people make is trying to rush it. You must thaw it overnight in the fridge. If you try to thaw it at room temperature, the outer layers will get warm and gummy while the inside is still frozen, causing the sheets to stick together in a solid, unusable lump. Trust me on this.
- The Golden Rule: Once you open the packet, filo’s main enemy is air. Have your melted butter or olive oil ready to go, and as soon as you unroll the pastry, cover the sheets you’re not using with a clean, slightly damp tea towel. This is non-negotiable! It keeps them soft and stops them from cracking.
The Cheese: It Must Be Feta
This is another crucial point. For authentic flavour, you need proper Greek feta cheese. It’s made from sheep’s milk (or a mix of sheep and goat’s milk) and has a salty, tangy, crumbly character that’s perfect for this pie.
Look for feta sold in a block, sitting in brine. This is far superior to the pre-crumbled stuff, which is often dry and less flavourful. Avoid anything called “salad cheese” or “Danish white,” as these are typically made from cow’s milk and have a milder, creamier texture that just doesn’t deliver the same punch.
The Greens: The Soul of the Pie
It’s called a spinach pie for a reason. You have two main choices here:
- Fresh Spinach: You’ll need a mountain of it—about 1kg. It looks like a ridiculous amount, but it wilts down to almost nothing. It gives a wonderful, fresh flavour. You’ll need to wash it thoroughly and then wilt it.
- Frozen Spinach: This is a fantastic, convenient shortcut. It’s already chopped and wilted, saving you a lot of time and effort. Just make sure you buy frozen chopped spinach, not whole leaf. You’ll need about 500-600g.
The most important step with either fresh or frozen spinach is squeezing out every last drop of water. We’ll cover this in detail in the recipe, but this is the secret to avoiding the dreaded soggy bottom.
The Supporting Cast: Onions, Herbs, and Oil
- Onions: You can use a regular brown onion, finely chopped, for a solid flavour base. However, for a slightly milder, fresher taste, a bunch of spring onions is a brilliant alternative.
- Herbs: Fresh herbs are essential for lifting the filling. The classic combination is fresh dill and flat-leaf parsley. Don’t be shy with them! They add so much fragrance and depth.
- Olive Oil: Use a good quality extra virgin olive oil. You’ll need it for sautéing the onions and, most importantly, for brushing between the layers of filo. This is what creates those distinct, crispy, flaky layers. Some people use melted butter, which is also delicious, but olive oil gives it a more authentically Greek flavour.
- Eggs: A couple of eggs are whisked into the filling. They act as a binder, helping the filling to set slightly so it doesn’t all fall out when you slice the pie.
- Seasoning: A little bit of nutmeg works beautifully with spinach and cheese. And of course, salt and plenty of freshly ground black pepper. Go easy on the salt at first, as the feta is already quite salty.
The Main Event: Your Step-by-Step Spanakopita Recipe

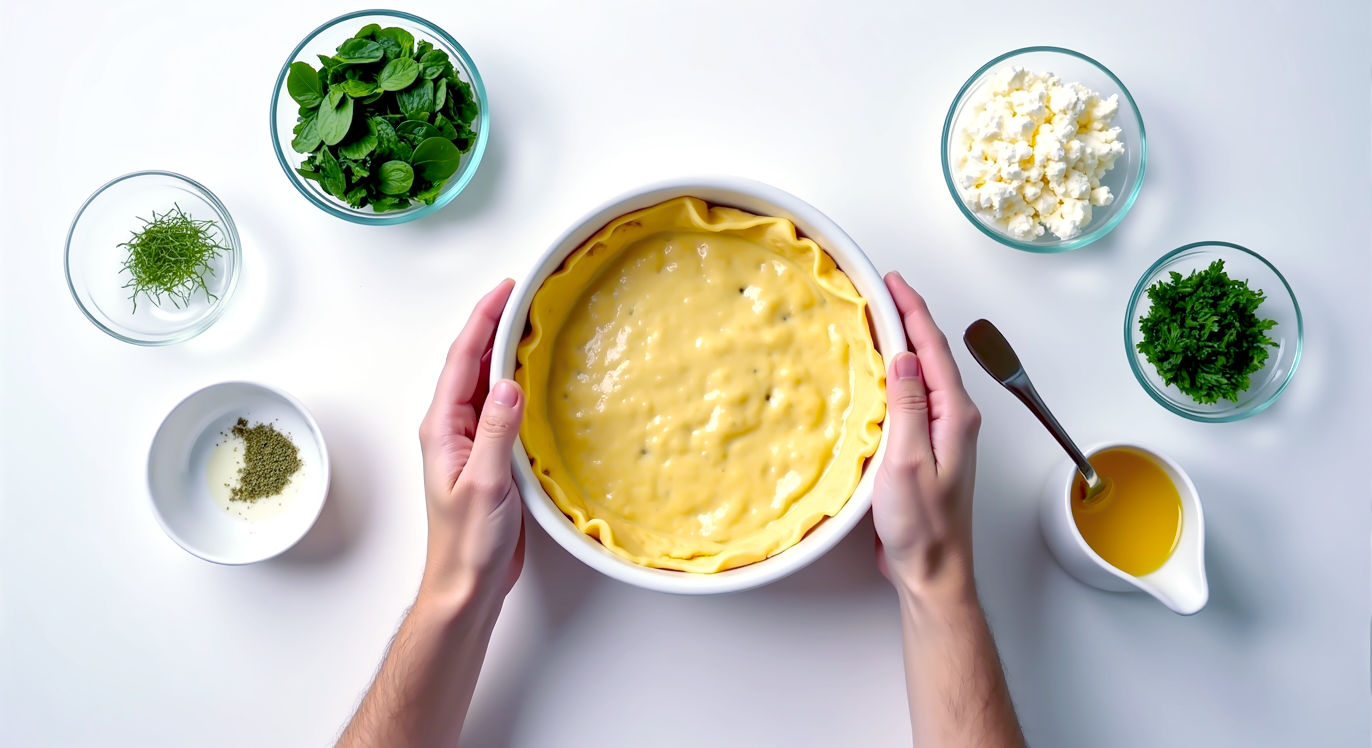
Right, the moment has come. We’ve done our homework. We know our history. We’ve got our ingredients ready. It’s time to make the pie. Read through the steps first, get everything organised (what chefs call mise en place), and take a deep breath. You’ve got this.
This recipe is for a large pie made in a rectangular baking dish (roughly 20cm x 30cm or 9″ x 13″).
What You’ll Need
Equipment:
- Large frying pan or pot
- Large mixing bowl
- Sharp knife and chopping board
- Pastry brush
- A clean tea towel
- Rectangular baking dish (approx. 20cm x 30cm)
Ingredients:
- 1kg fresh spinach OR 600g frozen chopped spinach, thawed
- 1 large brown onion, finely chopped (or 1 bunch of spring onions, finely sliced)
- 2 cloves of garlic, minced (optional, but recommended)
- 3 tbsp extra virgin olive oil, plus about 150ml extra for brushing
- 400g proper Greek feta cheese
- A large bunch of fresh dill, finely chopped
- A large bunch of fresh flat-leaf parsley, finely chopped
- 2 large free-range eggs
- ½ tsp grated nutmeg
- Freshly ground black pepper
- A pinch of salt (if needed)
- 270g packet of filo pastry (thawed in the fridge overnight if frozen)
- Sesame seeds or nigella seeds for sprinkling (optional)
The Method
Step 1: Prepare the Spinach (The Squeeze!)
This is the most critical step for a crisp pie. Do not skip it.
- If using fresh spinach: Wash it well. Place it in a large pot with just the water clinging to its leaves. Put it over a medium heat with a lid on. Cook for 5-10 minutes, stirring occasionally, until it has all wilted down. Tip it into a colander and press down with a spoon to get the first lot of water out. Let it cool completely.
- If using frozen spinach: Make sure it’s fully thawed. Pop it in a colander and press out as much water as you can.
Now for the main squeeze. Whether you used fresh or frozen, once it’s cool enough to handle, you need to get more water out. A lot more. Take small handfuls of the spinach and squeeze it as hard as you can over the sink. It’s like wringing out a sponge. You’ll be amazed at how much liquid comes out. Keep going until it’s very dry. Roughly chop the squeezed spinach and set it aside.
Step 2: Make the Filling
- Heat 3 tablespoons of olive oil in your frying pan over a medium heat. Add the chopped onion (and garlic, if using) and cook gently for about 8-10 minutes until soft and translucent. You don’t want it to brown. If using spring onions, they’ll only need a couple of minutes. Take the pan off the heat.
- In your large mixing bowl, crumble the block of feta with your fingers. Don’t mash it into a paste; you want some nice little chunks.
- Add the cooled, squeezed, chopped spinach to the bowl with the feta. Add the cooked onions, the chopped dill and parsley, and the grated nutmeg.
- In a small separate bowl, lightly whisk the two eggs. Pour them into the main bowl.
- Add a generous grinding of black pepper.
- Now, get your hands in there and mix everything together gently. You want it well combined but not compacted. Have a little taste. Does it need salt? Feta is salty, so you might not need any, but add a small pinch if you think it does. Your filling is now ready!
Step 3: Assemble the Spanakopita
This is where you meet the filo. Don’t be scared.
- Preheat your oven to 180°C (160°C Fan / Gas Mark 4).
- Pour about 150ml of olive oil into a small bowl. Get your pastry brush ready.
- Carefully unroll your filo pastry. Take one sheet and place it in your baking dish, letting any excess hang over the sides. Immediately cover the rest of the filo sheets with a damp tea towel.
- Brush the sheet in the dish lightly all over with olive oil. You don’t need to soak it, just a light coating.
- Place another sheet of filo on top, but this time, lay it at a slightly different angle (e.g., perpendicular to the first one) so the overhang is distributed around the dish. This helps build up a strong crust. Brush this sheet with oil.
- Repeat this process until you have used half of your filo sheets. It’s okay if they wrinkle or tear a bit. Just patch them up. These imperfections create extra crispy bits.
- Now, tip your glorious spinach and feta filling into the filo-lined dish. Spread it out evenly.
- Fold any overhanging filo back over the filling.
- Begin layering the remaining filo sheets on top, one by one, brushing each one with olive oil as you go. For a neater finish, you can try to tuck the edges of these top layers down inside the dish.
- For the very top layer, brush it generously with olive oil. This will give it a beautiful golden sheen.
Step 4: Score and Bake
- Using a sharp knife, carefully score the top layers of the pastry into your desired portion sizes (e.g., squares or diamonds). Crucially, only cut through the top layers of filo, not all the way through to the filling. This makes the pie much easier to serve later and stops the delicate pastry from shattering everywhere when you try to cut it after baking.
- If you like, sprinkle some sesame seeds or nigella seeds over the top.
- Place the dish in the preheated oven and bake for 40-50 minutes, or until the top is a deep, crisp golden-brown.
- Let it rest for at least 15 minutes before serving. This is important! It allows the filling to settle and makes it easier to slice cleanly.
Common Problems and How to Fix Them
- “My pie has a soggy bottom!” This is the number one fear. It’s almost always caused by wet spinach. You have to be ruthless with that squeeze! If you think you’ve squeezed enough, give it one more squeeze for good luck.
- “My filo pastry cracked and fell apart!” You let it get exposed to the air. Remember the damp tea towel rule—it is your best friend. Work efficiently, but you don’t need to panic-rush.
- “The filling is a bit bland.” This usually comes down to three things: not enough seasoning, not enough herbs, or using a sub-par feta. Use the best ingredients you can, be generous with the fresh dill and parsley, and taste your filling before you assemble the pie.
Beyond the Pie: Variations, Serving, and Storing

Once you’ve mastered the classic recipe, you can start playing around.
Fun Variations
- Cheesy Rider: Add a bit of grated parmesan or a sharp cheddar to the filling for extra savoury depth. Some Greeks add other local cheeses like kefalotyri. A dollop of ricotta can also add a lovely creaminess.
- Go Greener: Swap out some of the spinach for other greens like chard, kale, or even leeks (prasopita is a delicious leek pie).
- Make it Vegan: This is surprisingly easy! Use a vegan feta alternative, and swap the eggs for a tablespoon of cornflour mixed with a little water to help bind the filling. Make sure to brush the filo with olive oil, not butter.
Folding Triangles (Spanakopitakia)
If you want to make the little triangles instead of a big pie:
- Lay a sheet of filo on your work surface (keep the others covered!). Brush it with oil. Place another sheet on top and brush that with oil too.
- Cut the layered sheets lengthwise into long strips, about 6-7cm wide.
- Place a teaspoonful of filling at the bottom of one strip.
- Now, fold it like you’re folding a flag. Take the bottom corner with the filling and fold it up diagonally to form a triangle. Then fold that triangle straight up. Then fold it diagonally again. Keep folding in this pattern until you reach the end of the strip.
- Brush the finished triangle with a little more oil, place it on a baking tray, and repeat with the rest of the filling.
- They’ll need less time in the oven, around 20-25 minutes at the same temperature.
How to Serve and Store It
Spanakopita is wonderfully versatile. It’s delicious served warm from the oven, but it’s also fantastic at room temperature, which makes it perfect for picnics and buffets. Serve it on its own, or with a simple, sharp green salad and a dollop of creamy tzatziki.
You can store leftovers in the fridge for up to 3 days. It will lose its crispness, but you can revive it by reheating it in the oven for 10-15 minutes (avoid the microwave, which will make the pastry soft and chewy).
You can also freeze spanakopita. Assemble the pie right up to the point before baking, wrap it tightly in cling film and foil, and freeze for up to 3 months. You can bake it straight from frozen—just add an extra 20-25 minutes to the cooking time.
The Enduring Joy of a Homemade Pie
In a world of takeaways and ready meals, there’s something deeply satisfying about making a dish like this from scratch. It’s more than just a recipe; it’s a connection to a rich history, a celebration of simple, beautiful ingredients, and a skill that, once learned, you’ll have for life.
That first bite of your own homemade spanakopita—the sound of the crunch, the warmth of the filling, the knowledge that you made it—is a little moment of triumph. It’s a taste of a Greek holiday, yes, but it’s also the taste of home. So go on, give it a try. You might just find that this flaky, flavoursome pie becomes a new favourite in your kitchen.
Further Reading:


