The Guide to the AmazonBasics 8-Piece Wood Carving Chisel Set: A British DIYer’s Deep Dive
A comprehensive, no-nonsense review of the popular AmazonBasics 8-Piece Chisel Set for the UK DIYer. We explore what’s in the box and how to get them sharp.
This post may contain affiliate links. If you make a purchase through these links, we may earn a commission at no additional cost to you.
There’s something deeply satisfying about shaping wood. It’s a connection to a craft that’s built our homes, our furniture, and our history. You can almost hear the whisper of generations of craftspeople in the gentle shhhhlick of a sharp chisel slicing through timber. For many of us pottering in our sheds and garages across Britain, the idea of picking up that tradition feels both exciting and a little daunting. Where on earth do you start?
Enter the AmazonBasics 8-Piece Wood Carving Chisel Set. It appears on your screen, a neat black case full of promise, at a price that doesn’t make your wallet weep. It looks like the perfect, no-fuss gateway into the world of woodworking. But is it any good? Can a budget-friendly set from a massive online retailer really be the right tool to start your journey?
Amazon Basics 8-Piece Woodworking Wood Chisel Set for Carving with Honing Guide, Sharpening Stone and Storage Case,…

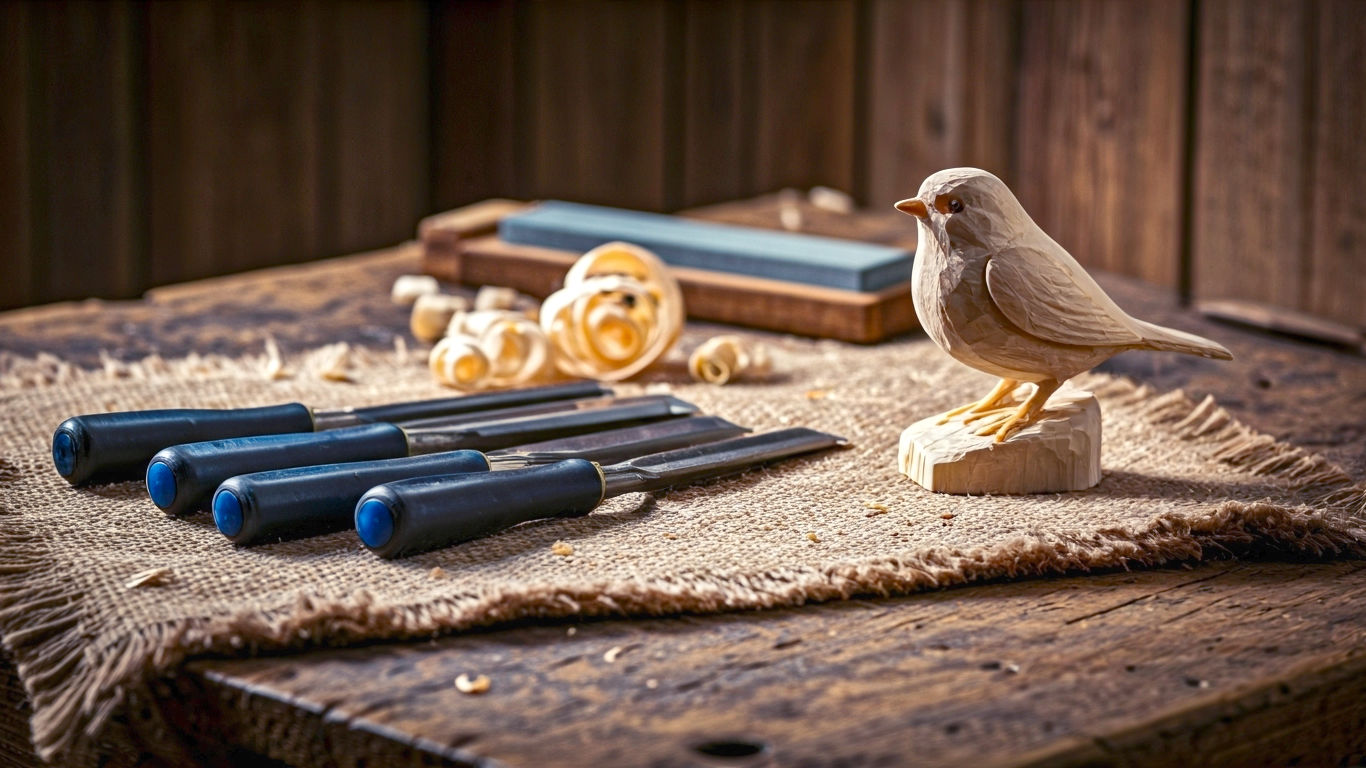
- Set includes: 6 x chisels: 1/4 inch (6mm), 1/2 inch (13mm), 3/4 inch (19mm), 1 inch (25mm), 1-1/4 inch (32mm) and 1-1/2 inch (38mm); 1 x honing guide and 1 x sharpening stone (120/240 grit)
- Heat treated: Heat treated chrome vanadium steel alloy blades with narrow side bevels
- Comfortable design: Comfortable contoured handles reduce hand strain and improve accuracy
- Storage case: Blow-moulded storage case keeps tools organised and secured
That’s the question we’re here to answer. This isn’t just a review; it’s a complete, no-nonsense guide. We’re going to pop the clips on that plastic case, lift out the tools, and explore every aspect of this popular starter kit. We’ll look at what you get, whether the steel is up to snuff, and tackle the single most important thing you need to know before you even think about touching wood with them. So, grab a brew, get comfortable, and let’s find out if this is the toolkit that will unlock your inner woodworker.
What’s in the Box? Unpacking Your New Toolkit
When the parcel arrives, the first thing you’ll notice is the practical, blow-moulded plastic case. It’s sturdy enough for shed life and keeps everything organised, which is a big plus. Nothing’s worse than hunting for the right-sized tool in a cluttered drawer. Let’s open it up and see what we’ve got.
Inside, nestled in their own little slots, are the eight core pieces of the set:
- Six Wood Chisels: This is the heart of the kit. You get a fantastic range of sizes:
- 6mm (about 1/4 inch): Your detail chisel. Perfect for getting into tight corners, cleaning up small joints, or carving fine lines.
- 13mm (about 1/2 inch): A great all-rounder for medium-sized tasks.
- 19mm (about 3/4 inch): The workhorse of the set, ideal for shaping and general-purpose jobs.
- 25mm (about 1 inch): When you need to remove a bit more material, for tasks like chopping out mortises.
- 32mm (about 1-1/4 inch): A bigger chisel for larger joints and clearing waste wood quickly.
- 38mm (about 1-1/2 inch): The beast of the set, for when you need to shift serious amounts of wood.
- A Honing Guide: This little metal gadget is your secret weapon for getting a perfectly sharp edge. Its job is to clamp the chisel blade and hold it at a consistent angle as you sharpen it.
- A Sharpening Stone: This is a rectangular block with two different surfaces. One side is coarser for shaping the edge, and the other is finer for honing it to a razor-sharp finish.
Each chisel comes with a small plastic tip protector, which is a thoughtful touch for safety. The initial impression is one of completeness. For a very reasonable price, you’ve got the tools and the means to maintain them, all in one tidy package.
The Heart of the Matter: A Closer Look at the Chisels
A chisel set is only as good as the chisels themselves. So, let’s pull one out and have a proper look at its components, from the business end to the handle you’ll be holding.
The Blades: What is Chrome Vanadium Steel?
The product description says the blades are made from heat-treated chrome vanadium steel. What does that actually mean for you in your workshop?
- A Simplified Explanation: Think of chrome vanadium steel as the reliable Ford Focus of the tool steel world. It’s not a high-performance Ferrari, but it’s tough, dependable, and does the job well for everyday tasks. It’s a common and sensible choice for tools in this price range.
- A Detailed Explanation: This steel is an alloy, meaning it’s iron mixed with other elements. The ‘chrome’ part adds hardness and, crucially, helps it resist rust—a big bonus in a sometimes-damp British shed. The ‘vanadium’ helps to make the steel tougher, so it’s less likely to chip. The heat treatment is a process of heating and cooling the metal to get the best balance of hardness (so it can hold an edge) and toughness (so it doesn’t shatter).
The downside? It doesn’t have the same edge retention as the more expensive high-carbon steels used in premium chisels. This means you’ll need to sharpen them a bit more often. But for a beginner, that’s actually a good thing—it gives you more practice at the vital skill of sharpening.
The Handles: Comfort and Control
The handles on these chisels are made of a hard, contoured plastic that feels comfortable enough in the hand. They’re not the beautifully turned wooden handles of a heritage set, but they’re practical and functional. They offer a decent grip, which is essential for both safety and accuracy.
At the very end of each handle is a metal strike cap. This is a tough, flat metal plate designed to be struck with a wooden mallet or a hammer. This tells you they’re built for general woodworking, where you might need to give the chisel a firm tap to chop out a joint, not just for delicate hand-carving.
The Bevel Edge: What It Means for You
These are bevel edge chisels, which is the most common and versatile type you can buy. The top face of the blade is flat, while the bottom face is ground at an angle (a bevel) to create the cutting edge.
The key feature, as mentioned on the product page, is the “narrow side bevels.” This means the sides of the blade are also ground away slightly. This design is a massive advantage when you’re trying to get into tight spaces, like the acute-angled corners of a dovetail joint. For general-purpose DIY and joinery, bevel edge chisels are exactly what you want.
The Elephant in the Workshop: The Truth About Sharpness
Right, let’s get to the single most important thing you need to understand about this chisel set, and pretty much any budget chisel set on the market.
These chisels do not come ready to use.
Read that again. You cannot take them out of the box, pick up a piece of wood, and start making lovely, clean cuts. If you try, you’ll be met with frustration. You’ll bruise and tear the wood, and you’ll conclude that the chisels are rubbish. But they’re not rubbish; they’re just not finished.
Factory Grind vs. Honed Edge
To understand why, you need to know the difference between grinding and honing.
- A Simplified Explanation: Imagine you’re making a kitchen knife from a block of steel. First, you’d use a grinding machine to shape the metal into a blade with a V-shaped edge. That’s the factory grind. It has the basic shape, but the very tip is still coarse and rough. To make it truly sharp, you then need to use a fine whetstone to polish and refine that V-shape into a microscopic, razor-sharp point. That’s honing.
These AmazonBasics chisels come with a factory grind (usually around 25 degrees), but they haven’t been honed. Your first job, before you do anything else, is to finish the sharpening process. A blunt chisel is a dangerous tool because it requires too much force, making it likely to slip. A sharp chisel is safe, predictable, and a joy to use.
Your First Job: How to Sharpen Your AmazonBasics Chisels
This might sound like a chore, but it’s the most fundamental skill in woodworking. The fact that this set comes with a honing guide and stone is a massive clue: it’s designed to teach you this process. Learning to put a great edge on a cheap chisel is far more valuable than using a posh, expensive chisel that you’re afraid to sharpen. Let’s go through it step-by-step.
Step 1: Flattening the Back
A chisel can only be as sharp as its back is flat. The first inch or so of the flat side of the chisel (the ‘back’) needs to be lapped until it’s perfectly flat and has a mirror polish.
- Get a Flat Surface: A piece of thick float glass or a spare granite or marble tile is ideal.
- Use Abrasive Paper: Stick a sheet of 240-grit wet-and-dry sandpaper to your flat surface (a light spray of water will hold it).
- Lap the Back: Put a few drops of water on the paper, place the back of the chisel flat on it, and rub it back and forth. Keep pressure on the tip.
- Check Your Progress: After a few strokes, you’ll see where the metal is being removed. Keep going until you have a consistent pattern of fine scratches right up to the cutting edge.
- Repeat with Finer Grits: Move up through finer grits of sandpaper (400, 800, 1200) to get a beautiful, polished, and perfectly flat back.
Step 2: Setting Up the Honing Guide
The honing guide is your friend. It takes the guesswork out of holding the correct angle.
- Clamp the Chisel: Open the guide’s jaws and slide the chisel in, with the bevel facing down. Make sure it’s clamped squarely.
- Set the Angle: The key is how far the chisel tip sticks out from the front of the guide. For a standard 30-degree honing angle (which is great for most work), you want the tip to project by about 30-40mm. You can make a simple wooden guide block to ensure you set this distance the same every time.
- Acknowledge Its Limits: Be aware that some users find these simple guides can struggle to grip the narrowest 6mm chisel perfectly square. Take your time to get it right.
Step 3: Using the Sharpening Stone
- Prepare the Stone: Your set comes with a dual-grit stone. It’s likely a carborundum (silicon carbide) stone. You can use it with a little light oil (like 3-in-1 oil) or water. The liquid helps to float away the tiny metal particles, so they don’t clog the stone.
- Start with the Coarse Side: Place the honing guide, with the chisel clamped in, onto the coarse side of the stone. Roll it back and forth in long, smooth strokes. Use the whole surface of the stone to avoid wearing a groove in the middle.
- Feel for the Burr: Keep sharpening until you can feel a tiny, rough wire of metal forming on the flat back of the chisel, right along the cutting edge. This is called the burr. When the burr extends all the way across the edge, you know you’ve sharpened the entire bevel.
- Switch to the Fine Side: Flip the stone over to the finer side and repeat the process with a few lighter strokes. This will polish the edge and make it even sharper.
Step 4: Removing the Burr
Take the chisel out of the guide. To remove the burr, lay the back of the chisel perfectly flat on the fine side of your stone and make one or two light, pulling strokes. This will cleanly slice off the burr. You can also strop the edge on a piece of leather for an even finer finish.
The Sharpness Test
How do you know when it’s truly sharp? Forget the old wives’ tale about shaving arm hair. A safer and better test is to see if it will cleanly slice the edge of a piece of paper. Or, even better, try to pare off a paper-thin shaving from the end grain of a piece of soft pine. If it cuts smoothly without crushing the fibres, you’ve done it.
Putting Them to Work: Practical Uses and First Projects
Now that you have a set of razor-sharp chisels, you can finally start woodworking! Remember the golden rule of safety: always keep both hands behind the cutting edge. Clamp your workpiece securely to a bench so it can’t move.
These chisels are brilliant for a huge range of common DIY and woodworking tasks:
- Cleaning up joints: Perfect for trimming the shoulders of a tenon for a snug fit.
- Hinging a door: Ideal for chopping out the recess for a hinge plate.
- General shaping: Paring away wood to create a curve or a chamfer.
- Clearing waste: Removing the bulk of the wood from a joint, like a dovetail or a mortise.
Ideal First Projects for a British DIYer
Looking for a simple project to test your new skills? Here are a few ideas that are perfect for this set:
- Build a simple bird box: A classic beginner project that involves straightforward cuts and joints.
- Make a garden planter: Use your chisels to tidy up saw cuts and create simple half-lap joints for the corners.
- Carve a wooden spatula: A great introduction to shaping wood. Start with a rectangular blank of wood (lime or sycamore works well) and carve it to shape.
- Create a small shelf for the shed: A practical project that will give you practice cutting notches and simple joints.
The Verdict: Is the AmazonBasics Chisel Set Worth Your Money?
After a deep dive, we can finally answer the big question. The answer is a strong, but conditional, yes.
Who It’s For
- The Absolute Beginner: This set is almost perfect for you. It contains everything you need to start, and crucially, it forces you to learn the most important skill of all: sharpening. The low price means it’s not a disaster if you decide woodworking isn’t for you.
- The Occasional DIYer: If you just need a set of chisels in the shed for the odd job—easing a sticky door, fitting a lock, or tidying up a cut—this is an excellent-value choice.
- The Hobbyist on a Budget: This is a fantastic starting point. You’ll learn a huge amount, and when you do eventually upgrade, you’ll know exactly what you want from a more expensive chisel.
Who It’s NOT For
- The Professional Tradesperson: A carpenter or joiner needs tools that can withstand heavy, daily use and hold an edge for longer. They will invest in premium brands.
- The Serious Woodworking Enthusiast: If you’re already committed to the hobby, you will likely get frustrated with how often you need to sharpen these and will want to upgrade to a set with better quality steel.
When you look at the price, it’s hard to argue with the value. To get six chisels, a guide, and a stone in a case for this price is exceptional. Competing budget sets from brands like VonHaus or Silverline offer a similar proposition, but the AmazonBasics set is often the most accessible. The next real step up, to a brand like Irwin Marples or Stanley, would cost you significantly more, and you’d still need to buy a sharpening system separately.
The final recommendation is this: buy this set as an educational tool that you can also do woodworking with. See the initial sharpening not as a flaw, but as your first lesson.
Conclusion: A Tool to Shape Wood, and Your Skills
The AmazonBasics 8-Piece Wood Carving Chisel Set isn’t a box of professional-grade tools, and it doesn’t pretend to be. It’s something far more valuable for a beginner: it’s an invitation.
It’s an affordable, comprehensive, and accessible first step into the rewarding world of woodworking. Its greatest weakness—the fact that the chisels need a thorough sharpening out of the box—is also its greatest strength. It forces you to engage with your tools on a deeper level and teaches you the foundational skill that separates wood-butchers from wood-shapers.
If you’re prepared to spend an afternoon learning to create a razor-sharp edge, this set will reward you tenfold. It will build bird boxes, carve spoons, and fix doors. But more importantly, it will build your confidence and your skills, providing a sturdy and reliable bridge from curious beginner to capable craftsperson. And for that, it’s one of the best investments you can make for your shed.
Further Reading and Resources
For those looking to continue their woodworking journey, here are some highly respected British resources:
- Paul Sellers’ Website & YouTube Channel: A master woodworker dedicated to teaching traditional hand tool skills. His videos on sharpening are legendary.
- The English Woodworker (Richard Maguire): Another fantastic resource for learning hand tool fundamentals.
- Axminster Tools: A great UK-based retailer for when you’re ready to explore more tools, with lots of helpful articles and videos on their site.
- WoodworkingUK Forum: A friendly online community of British woodworkers who are always happy to share advice and encouragement.